


5
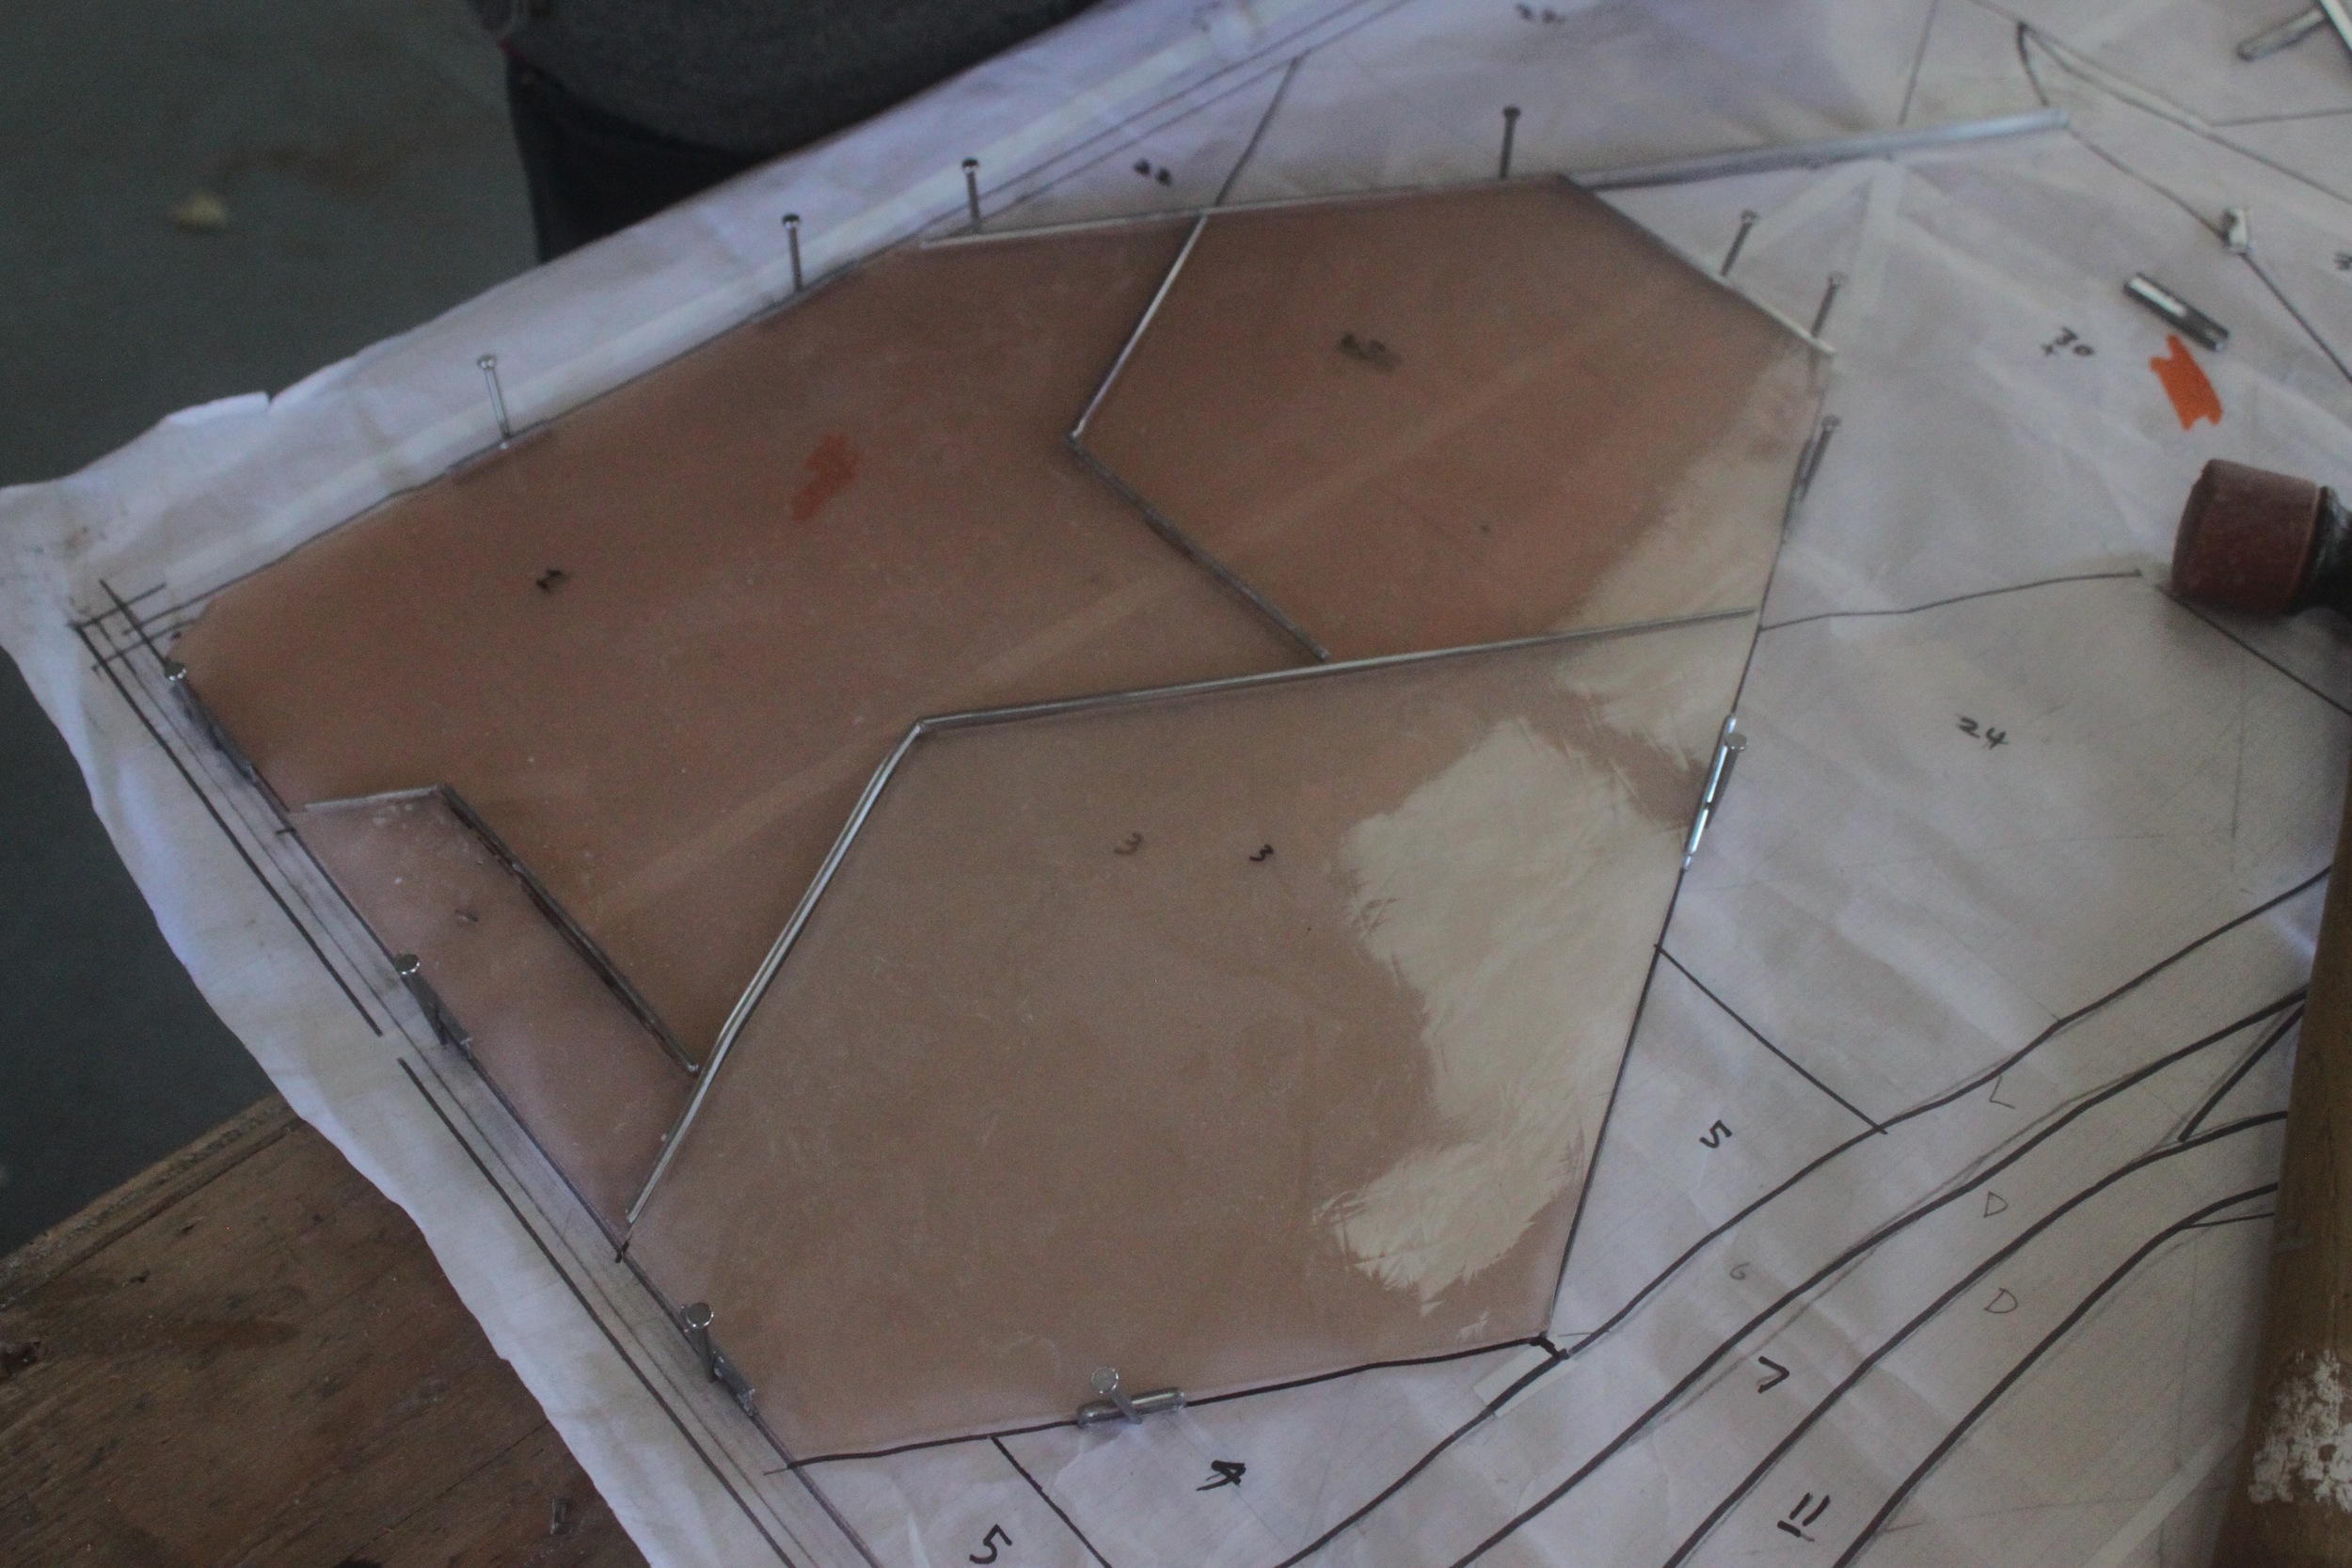
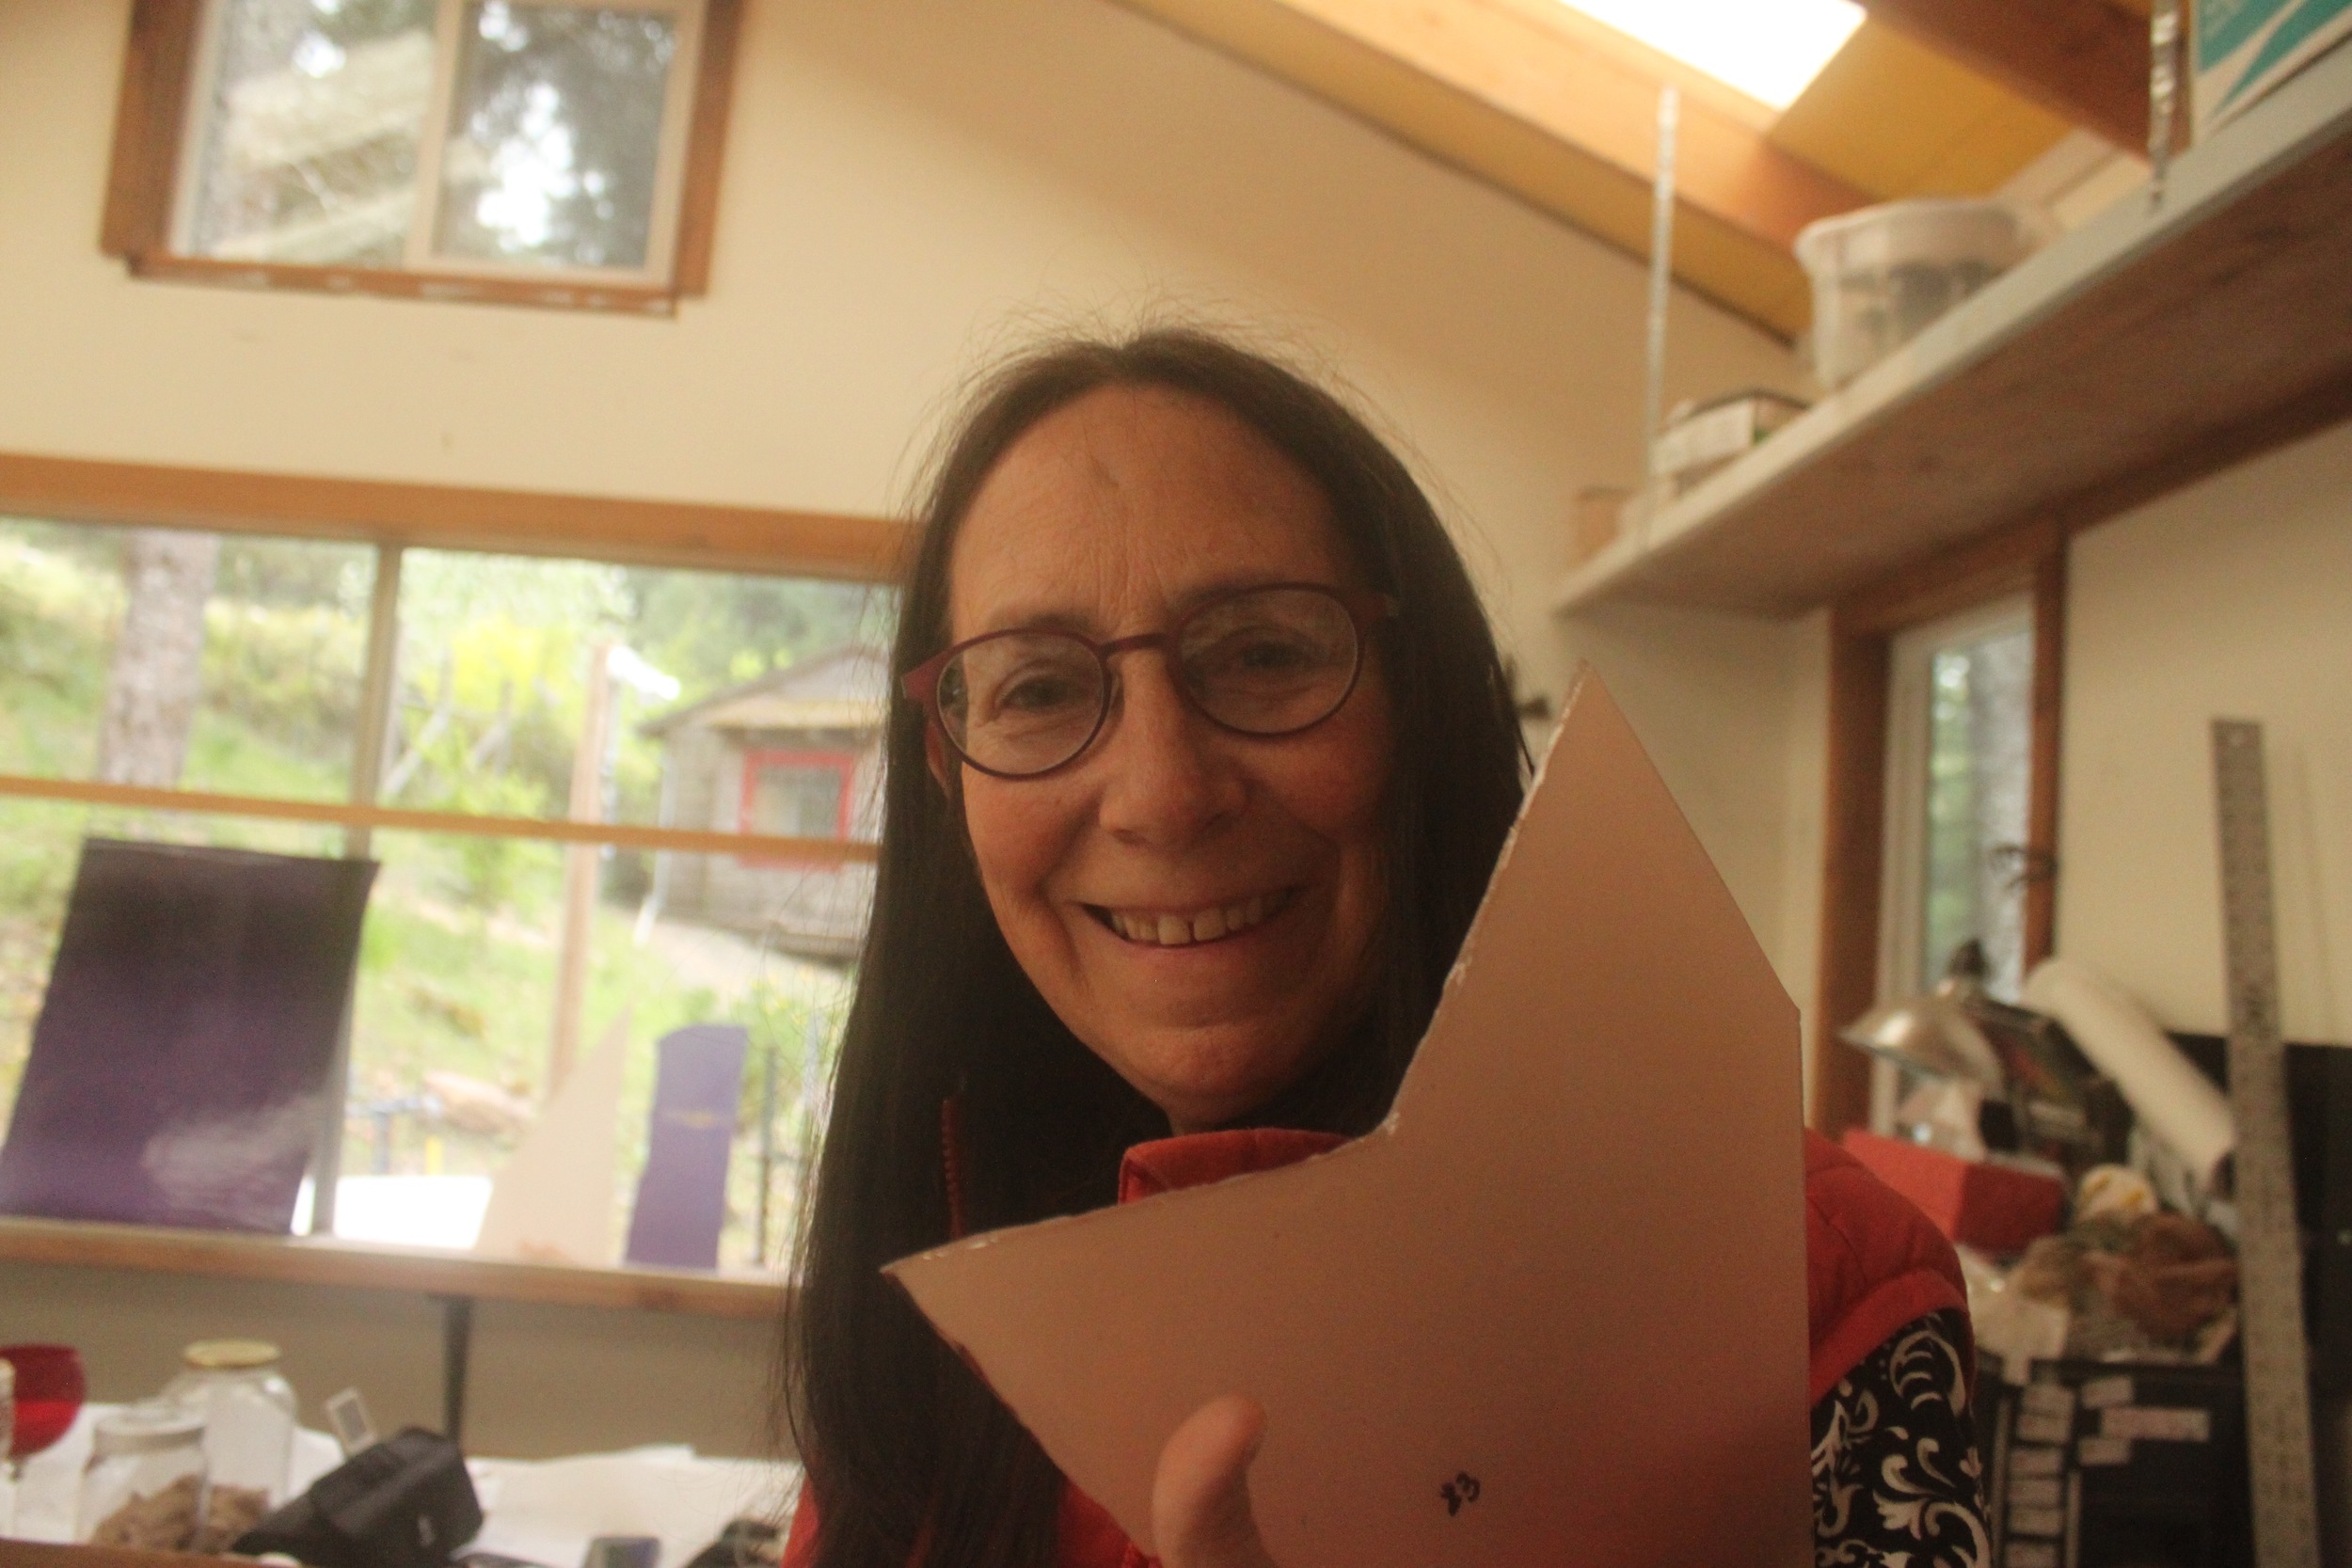
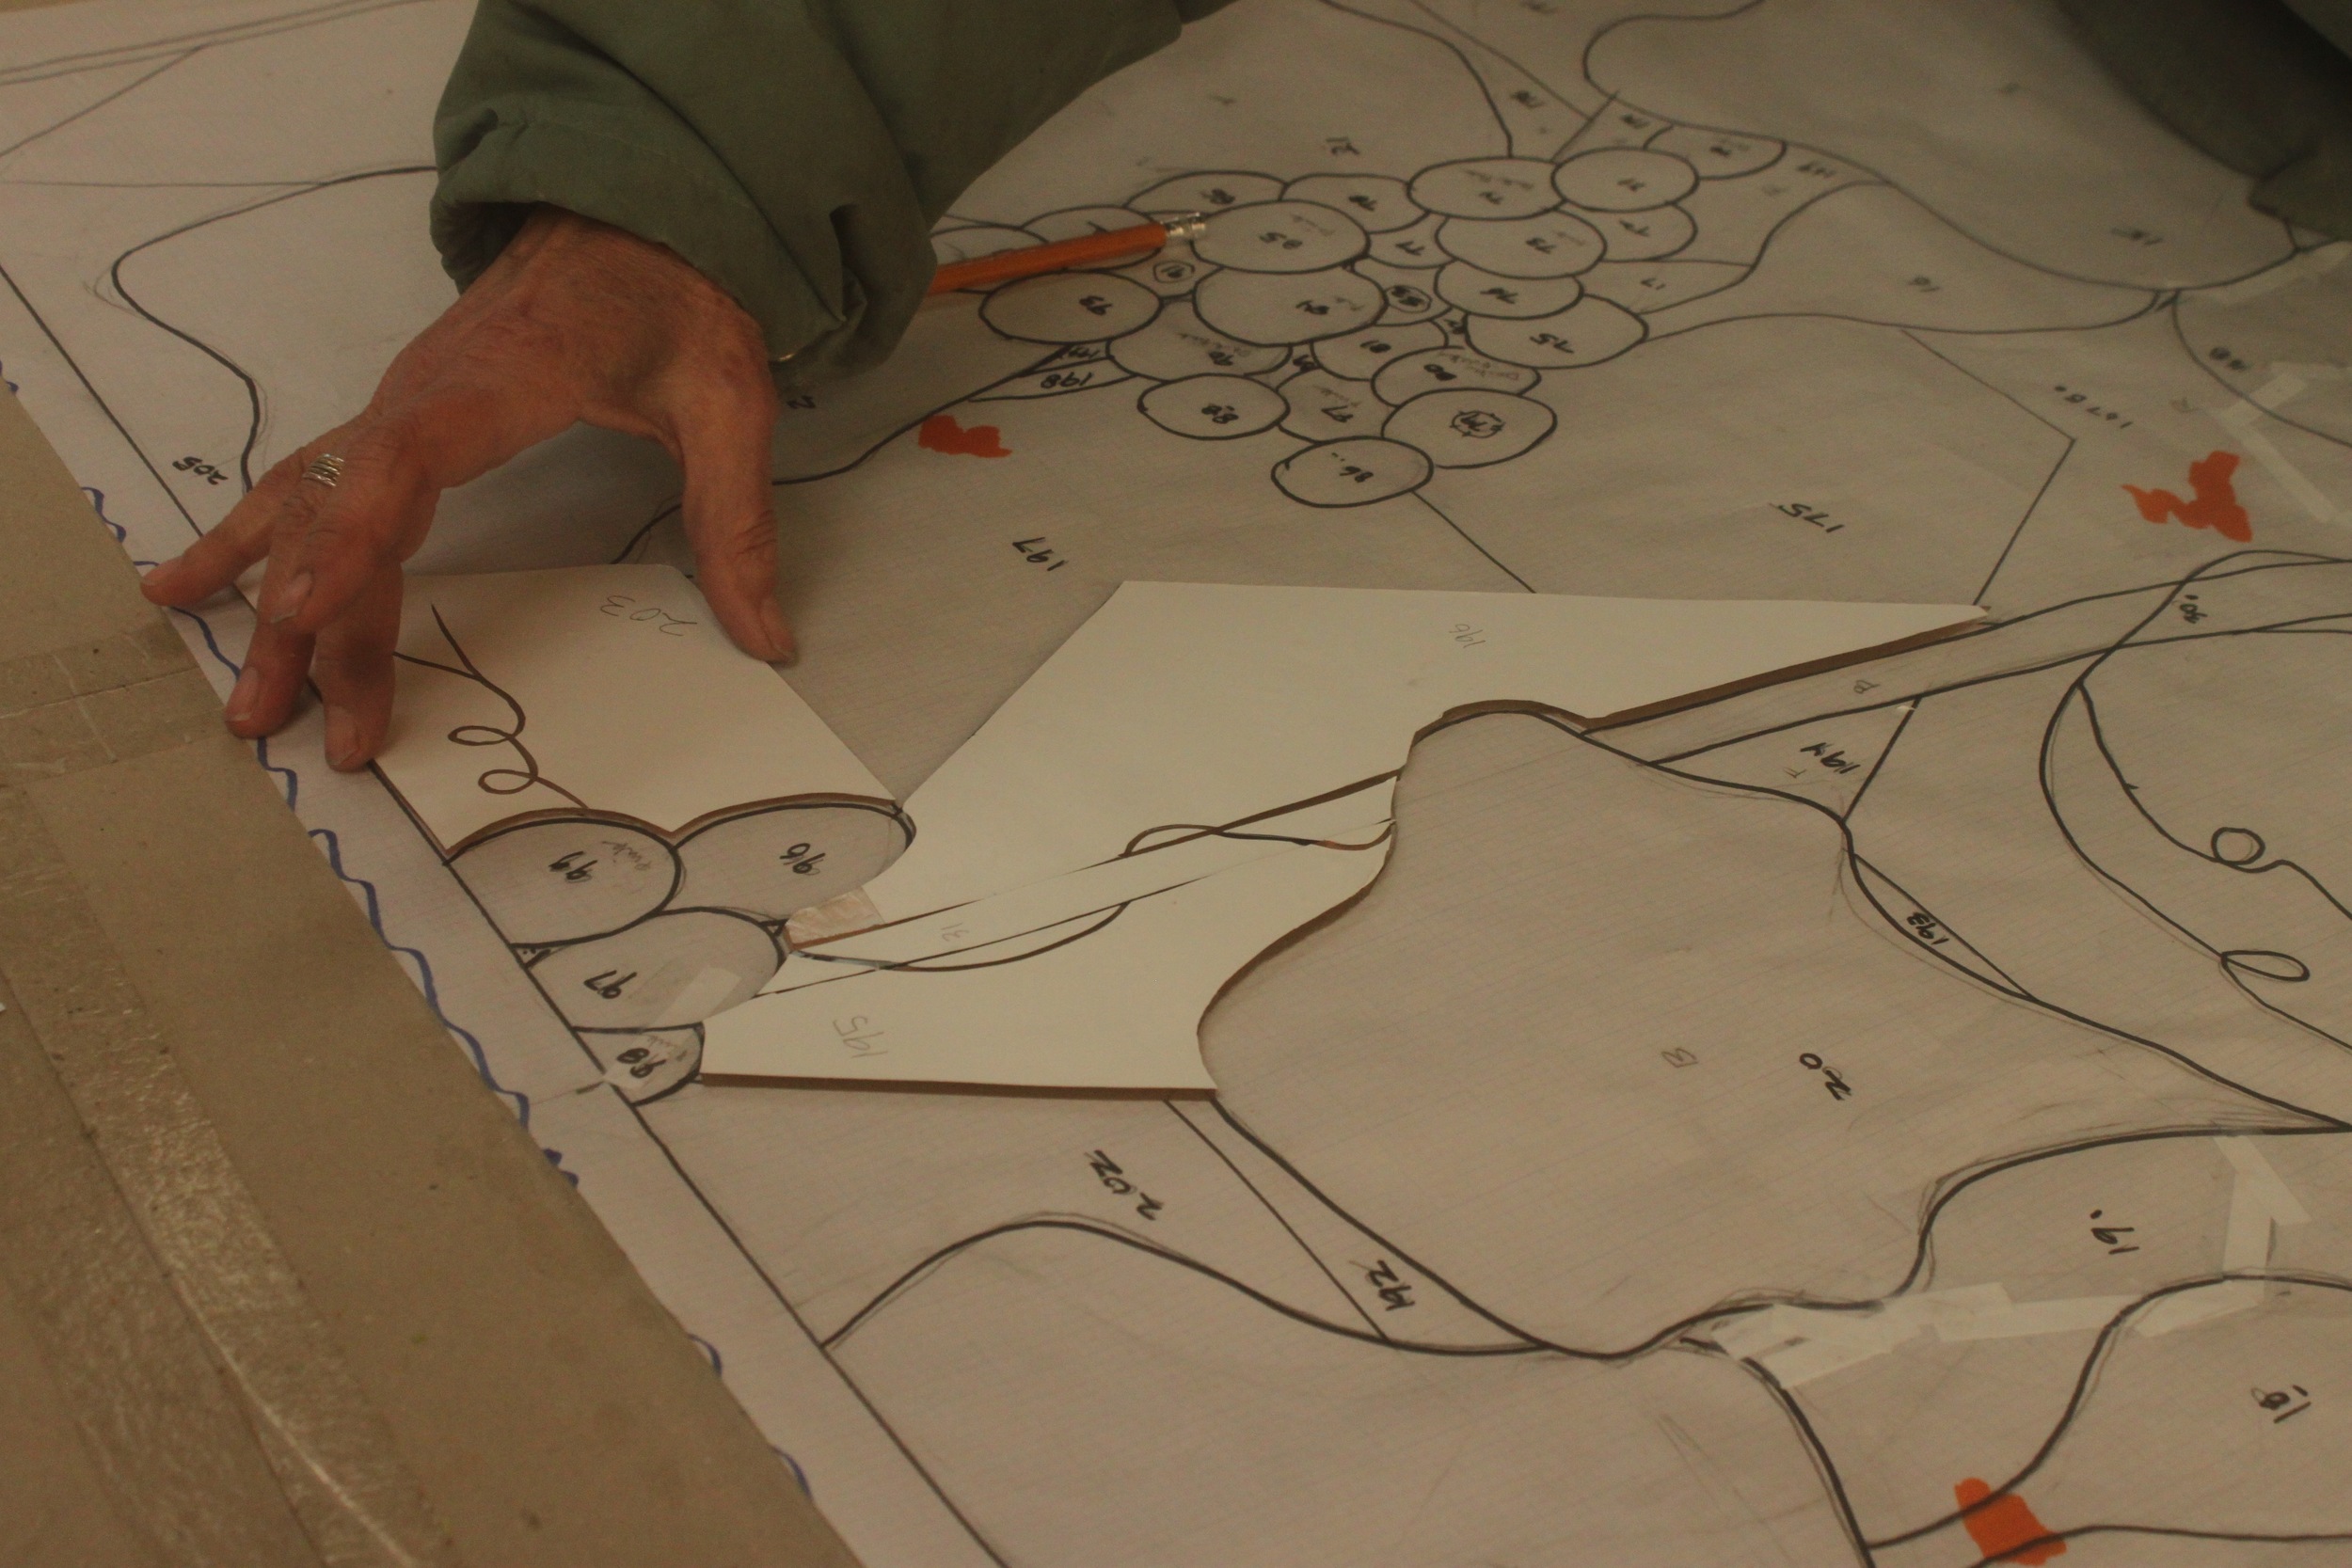
Making the pattern

5
Making the pattern

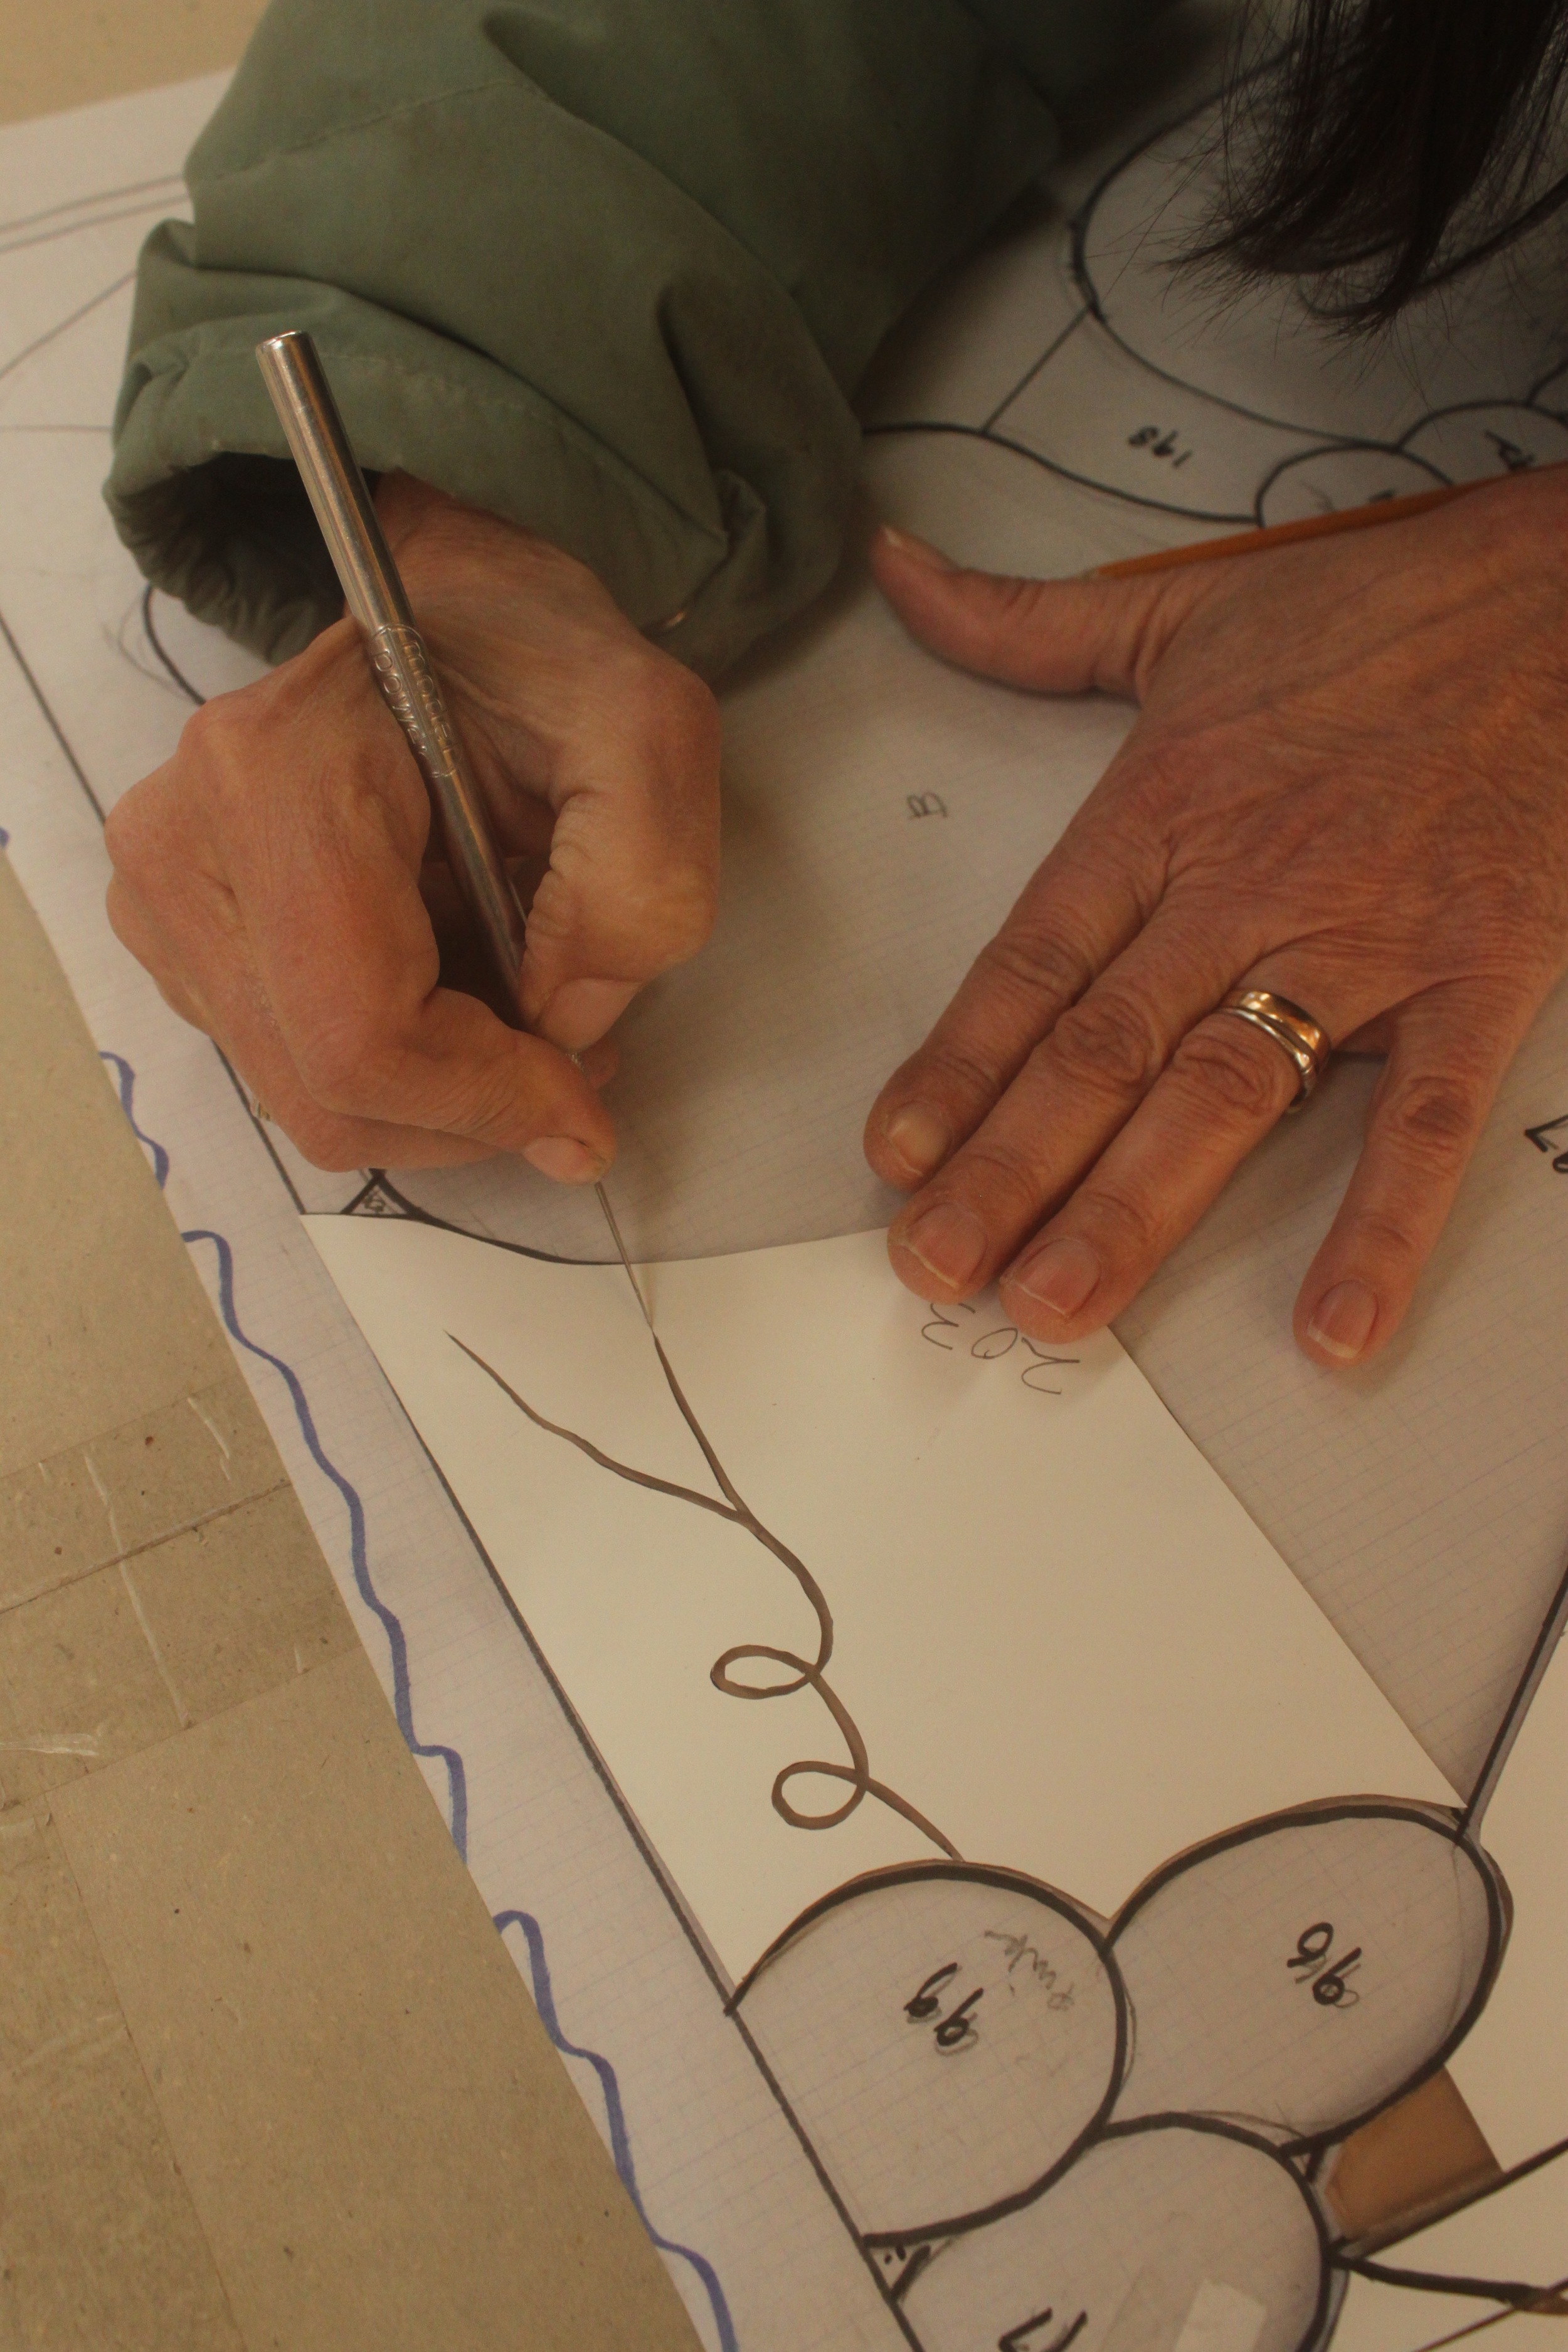
4
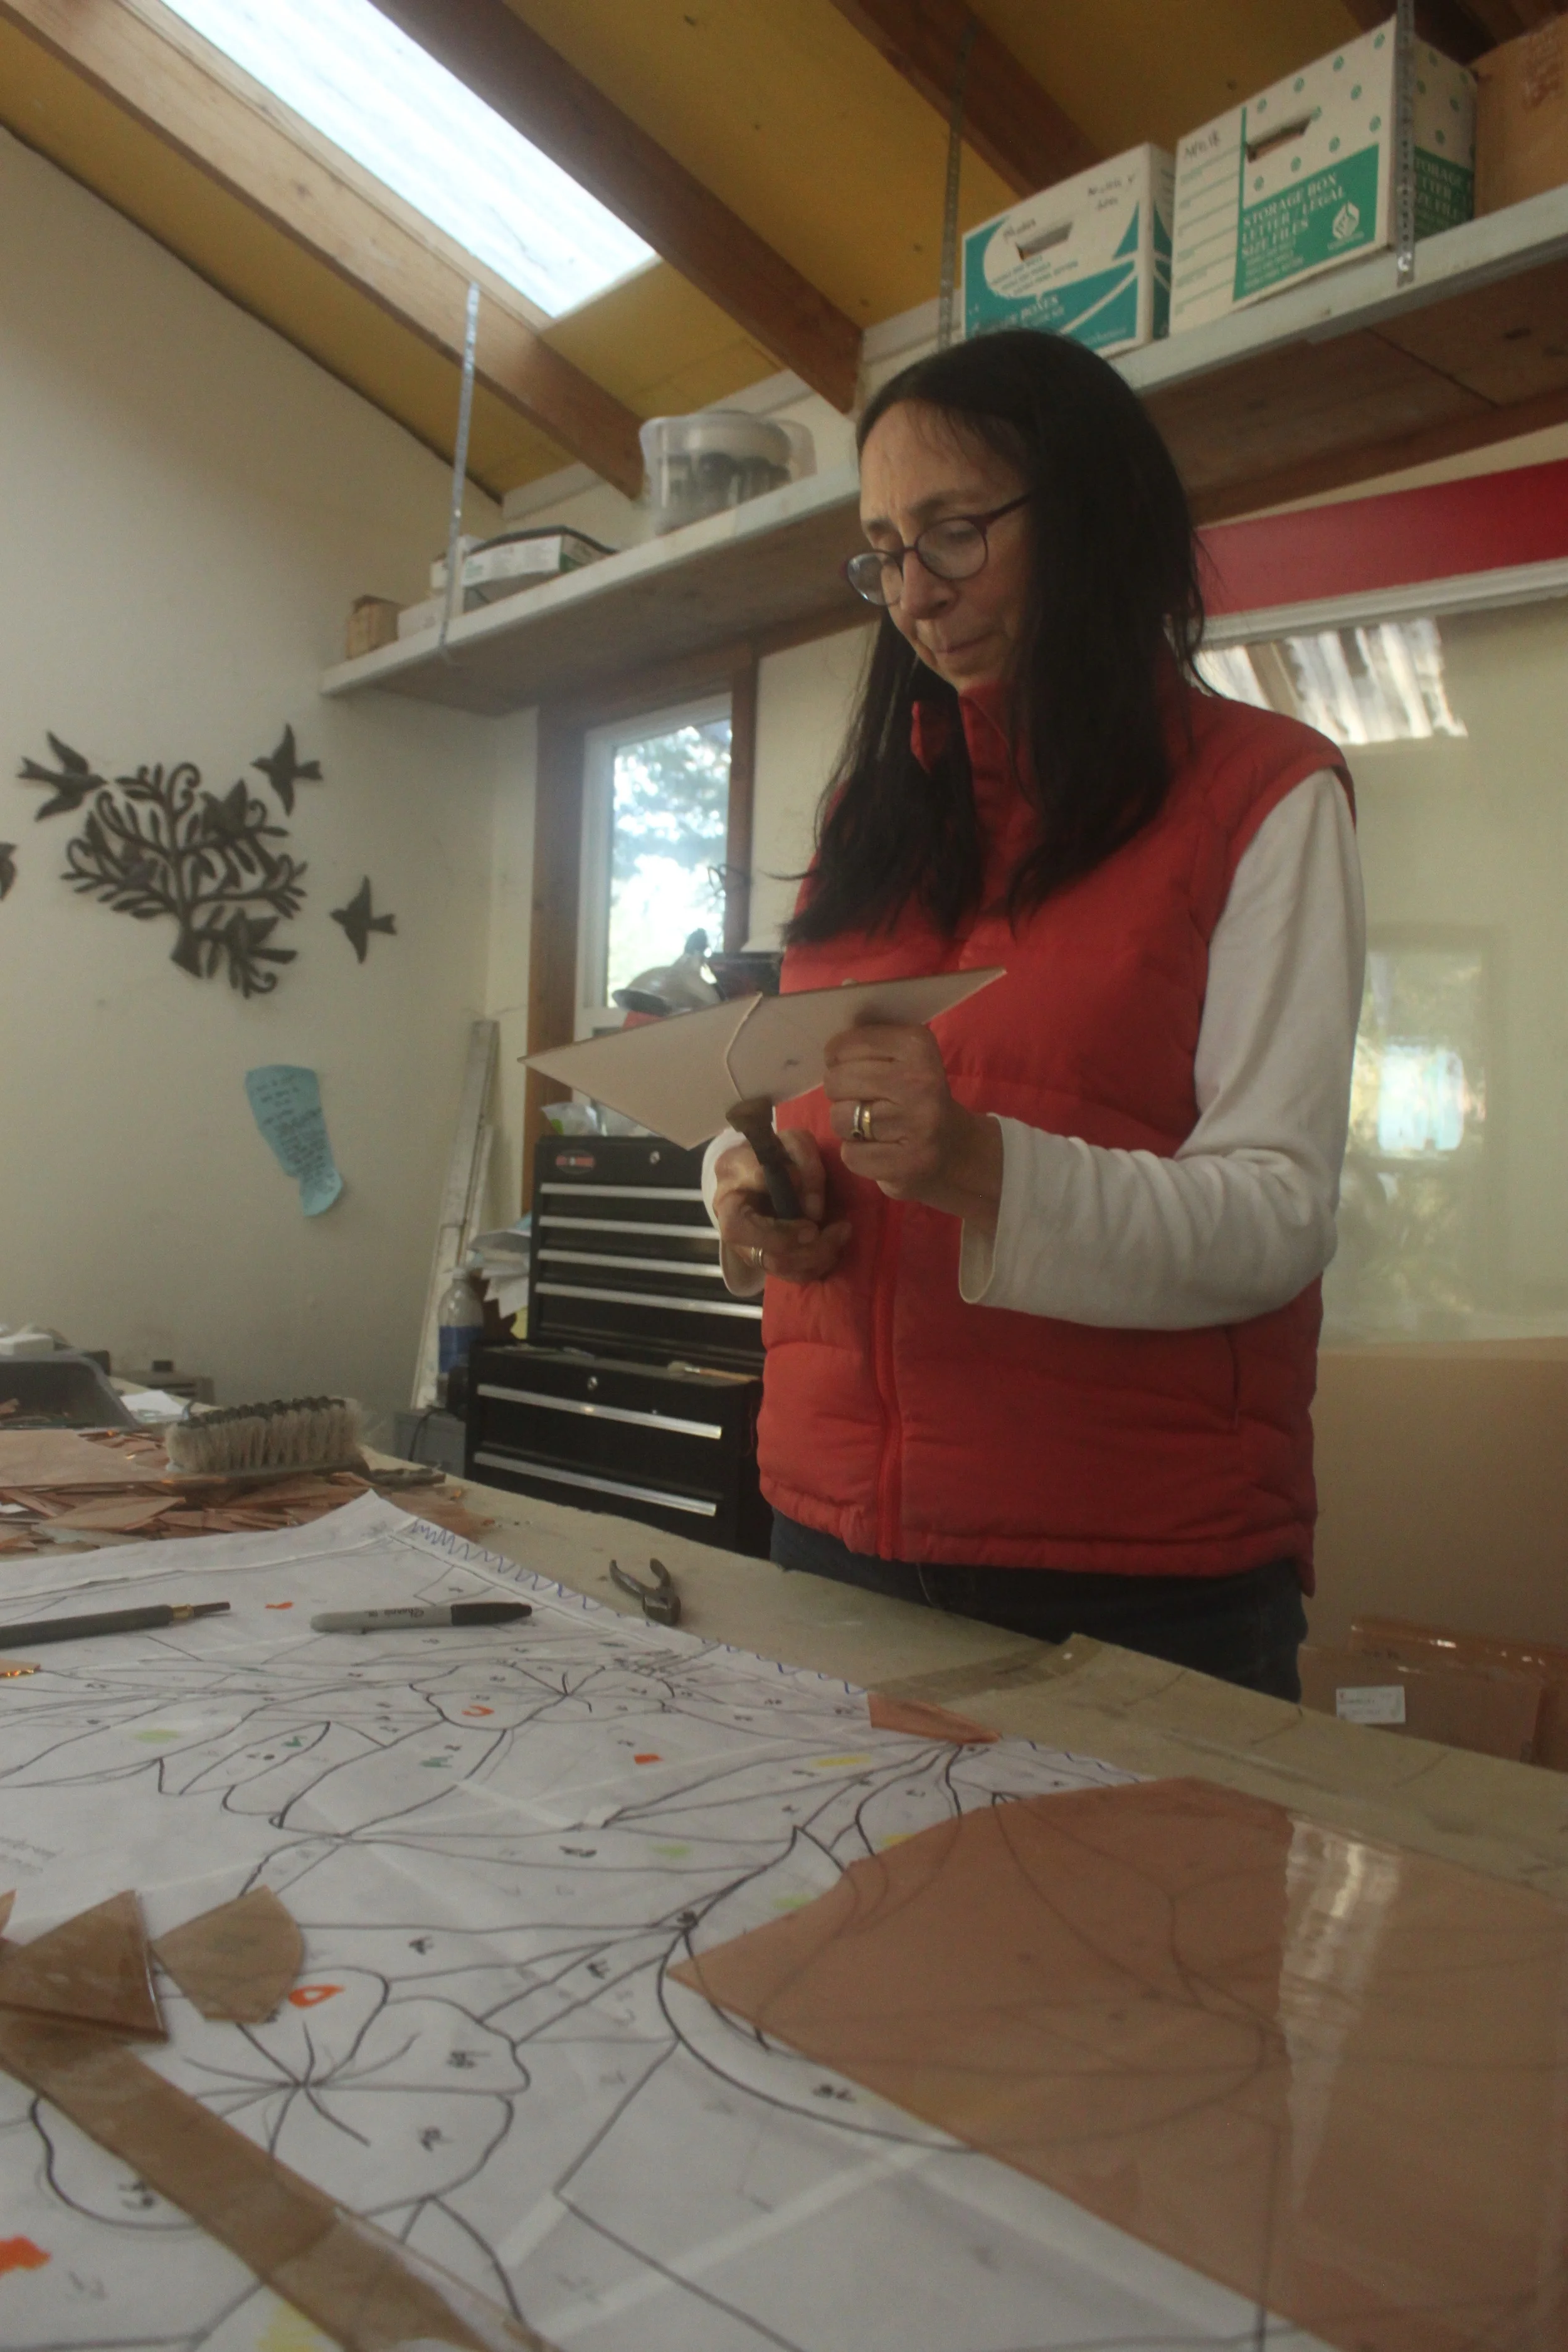
Inking in the cartoon

6
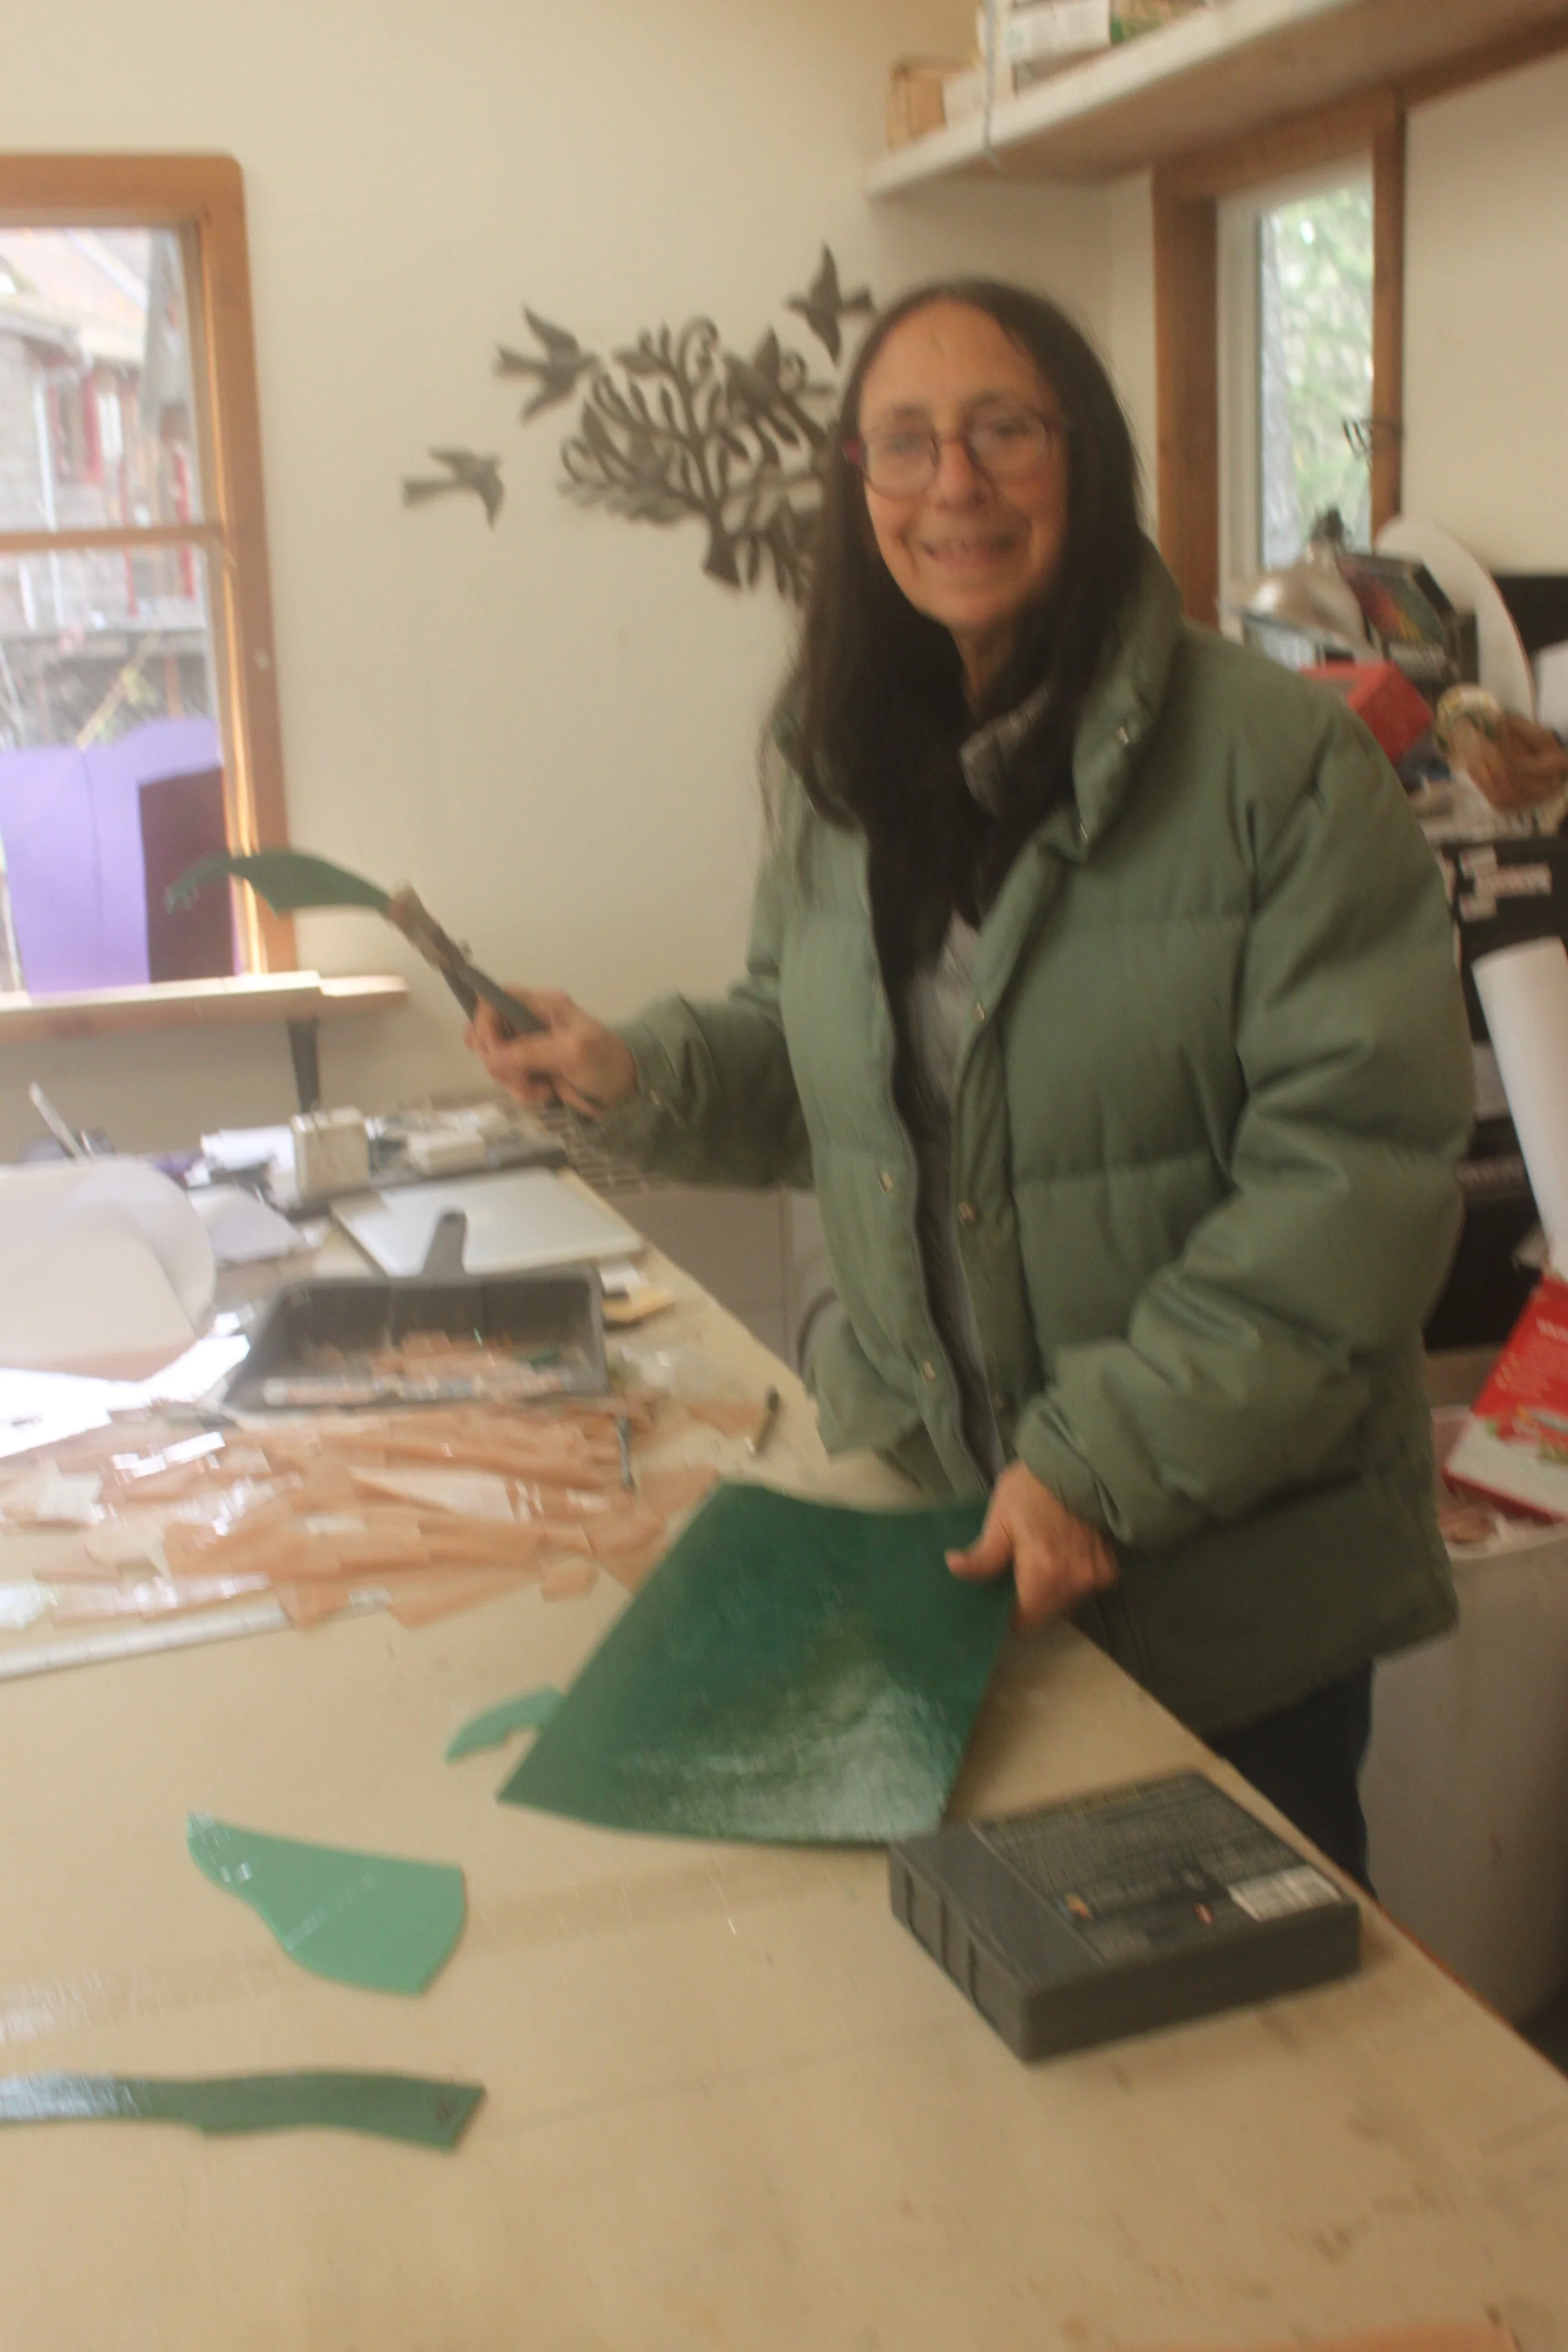
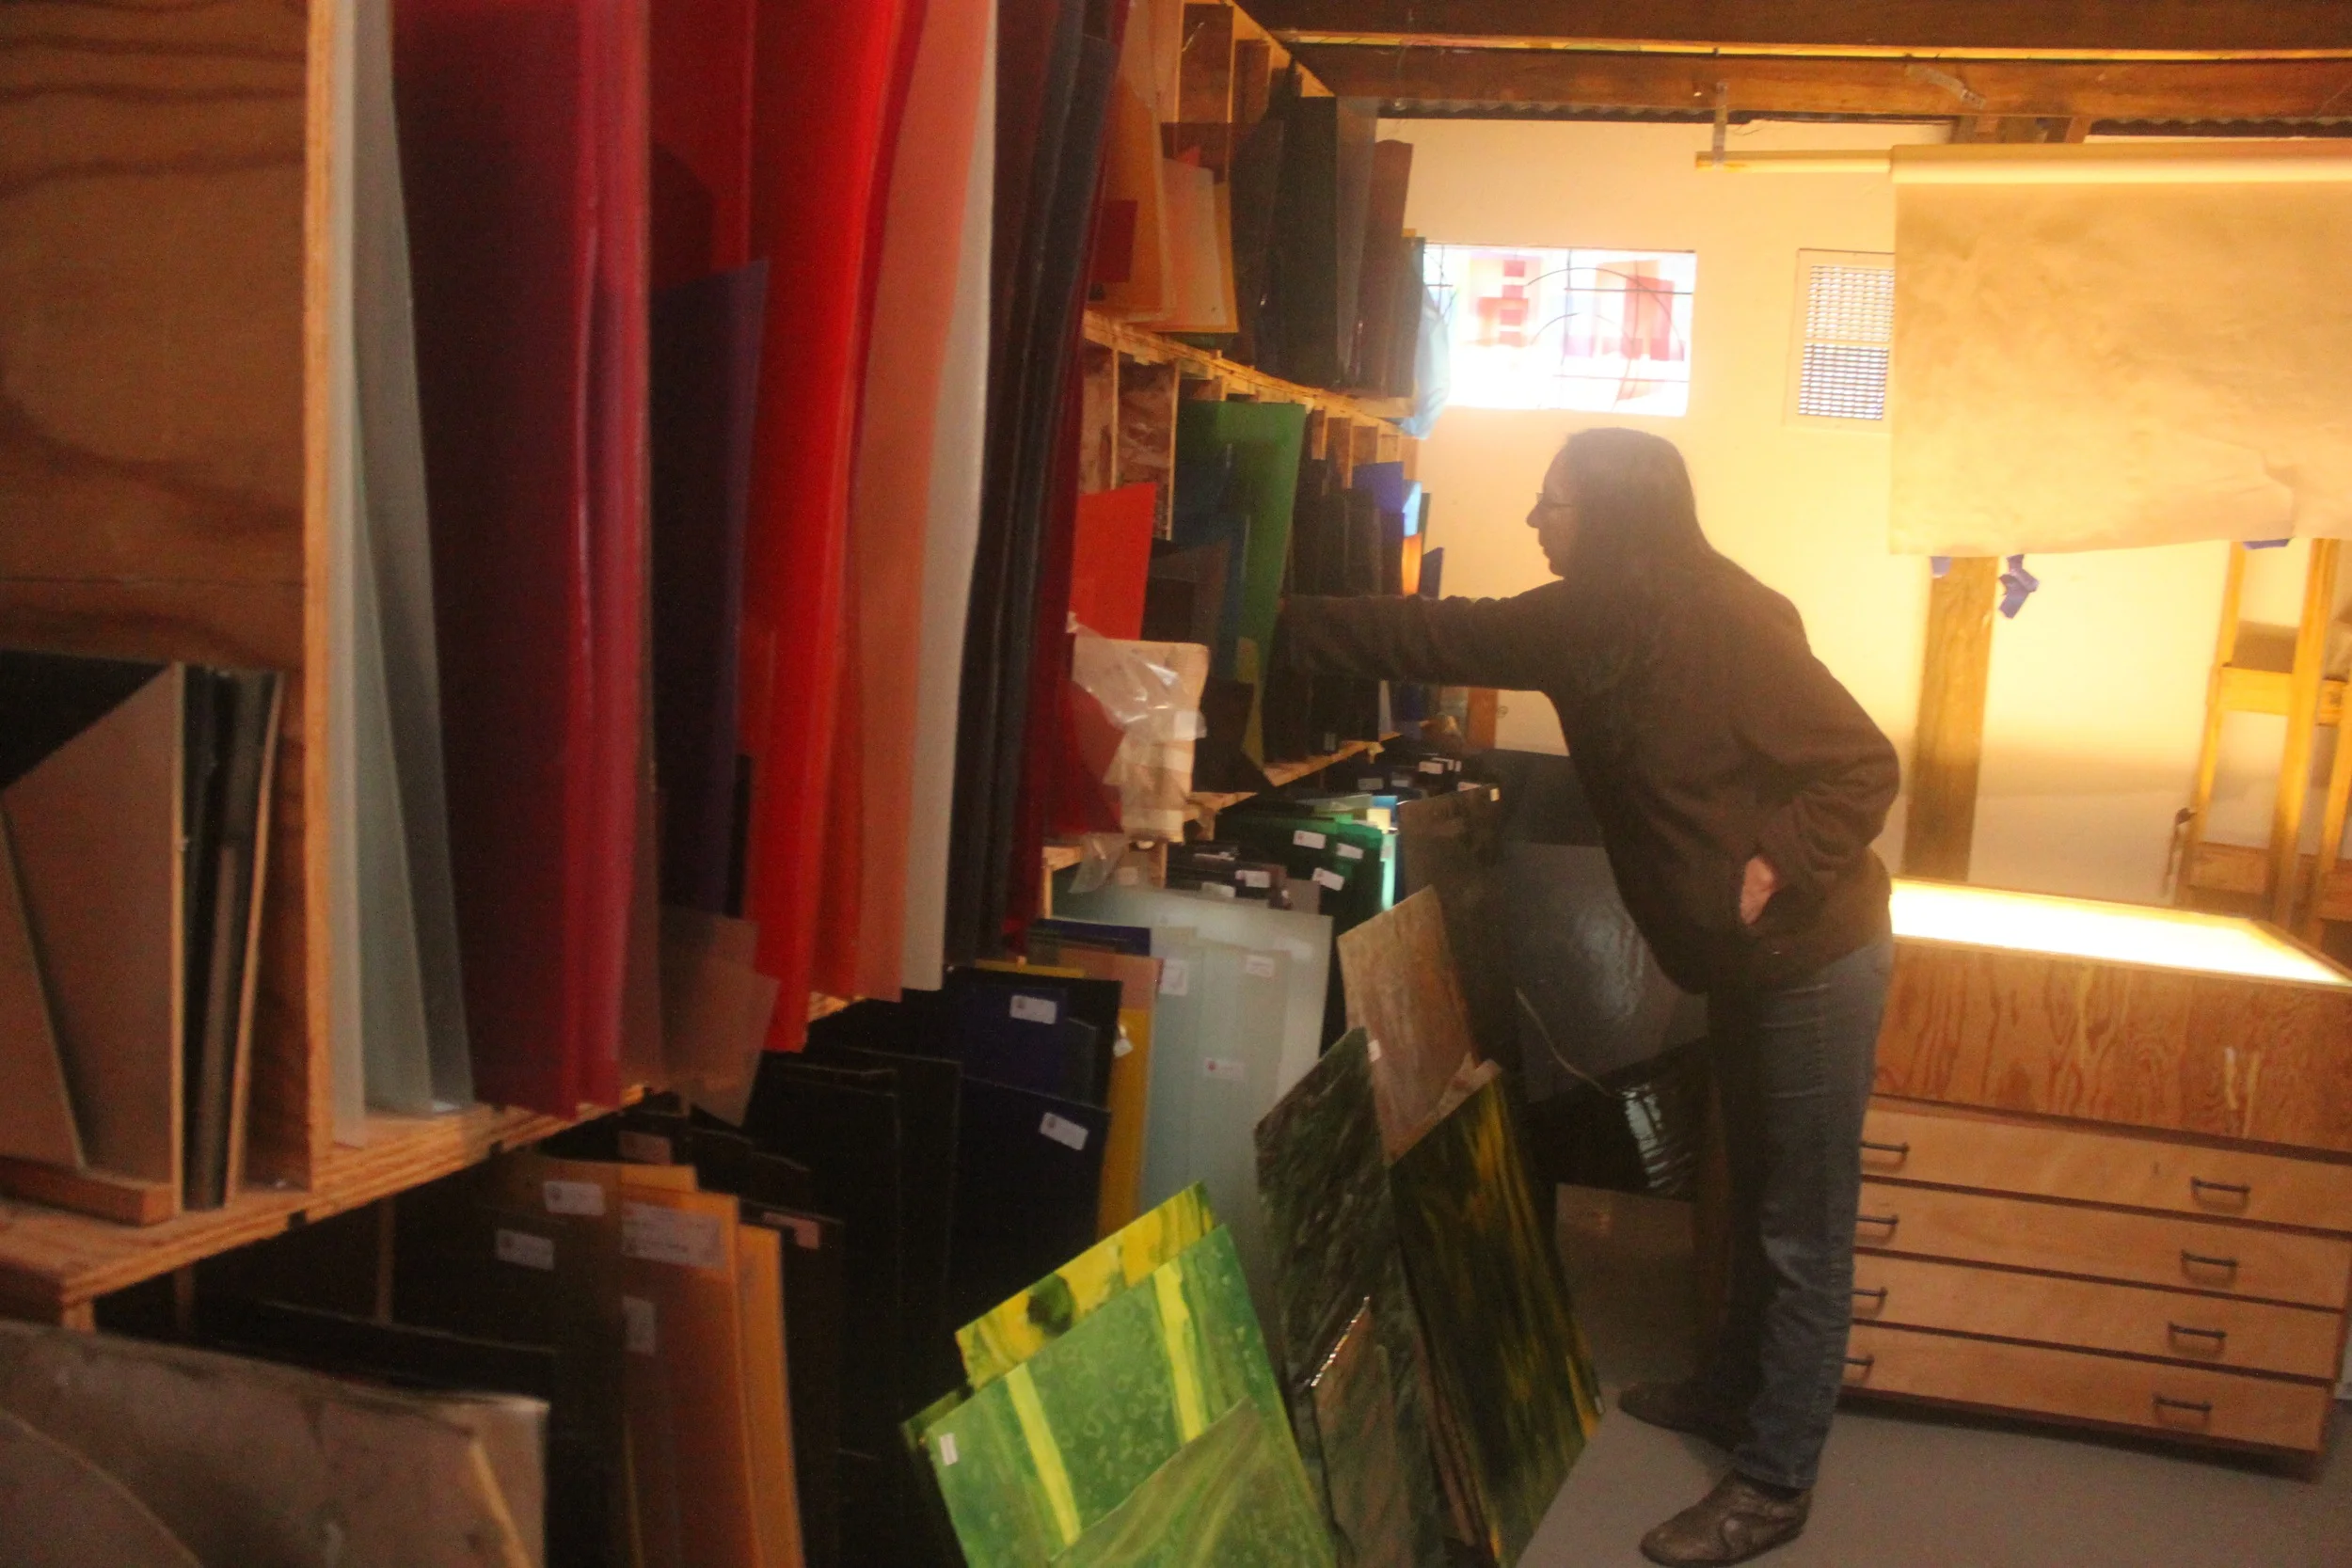
Cutting begins

6
Cutting continues

4
Painting the flowers

5
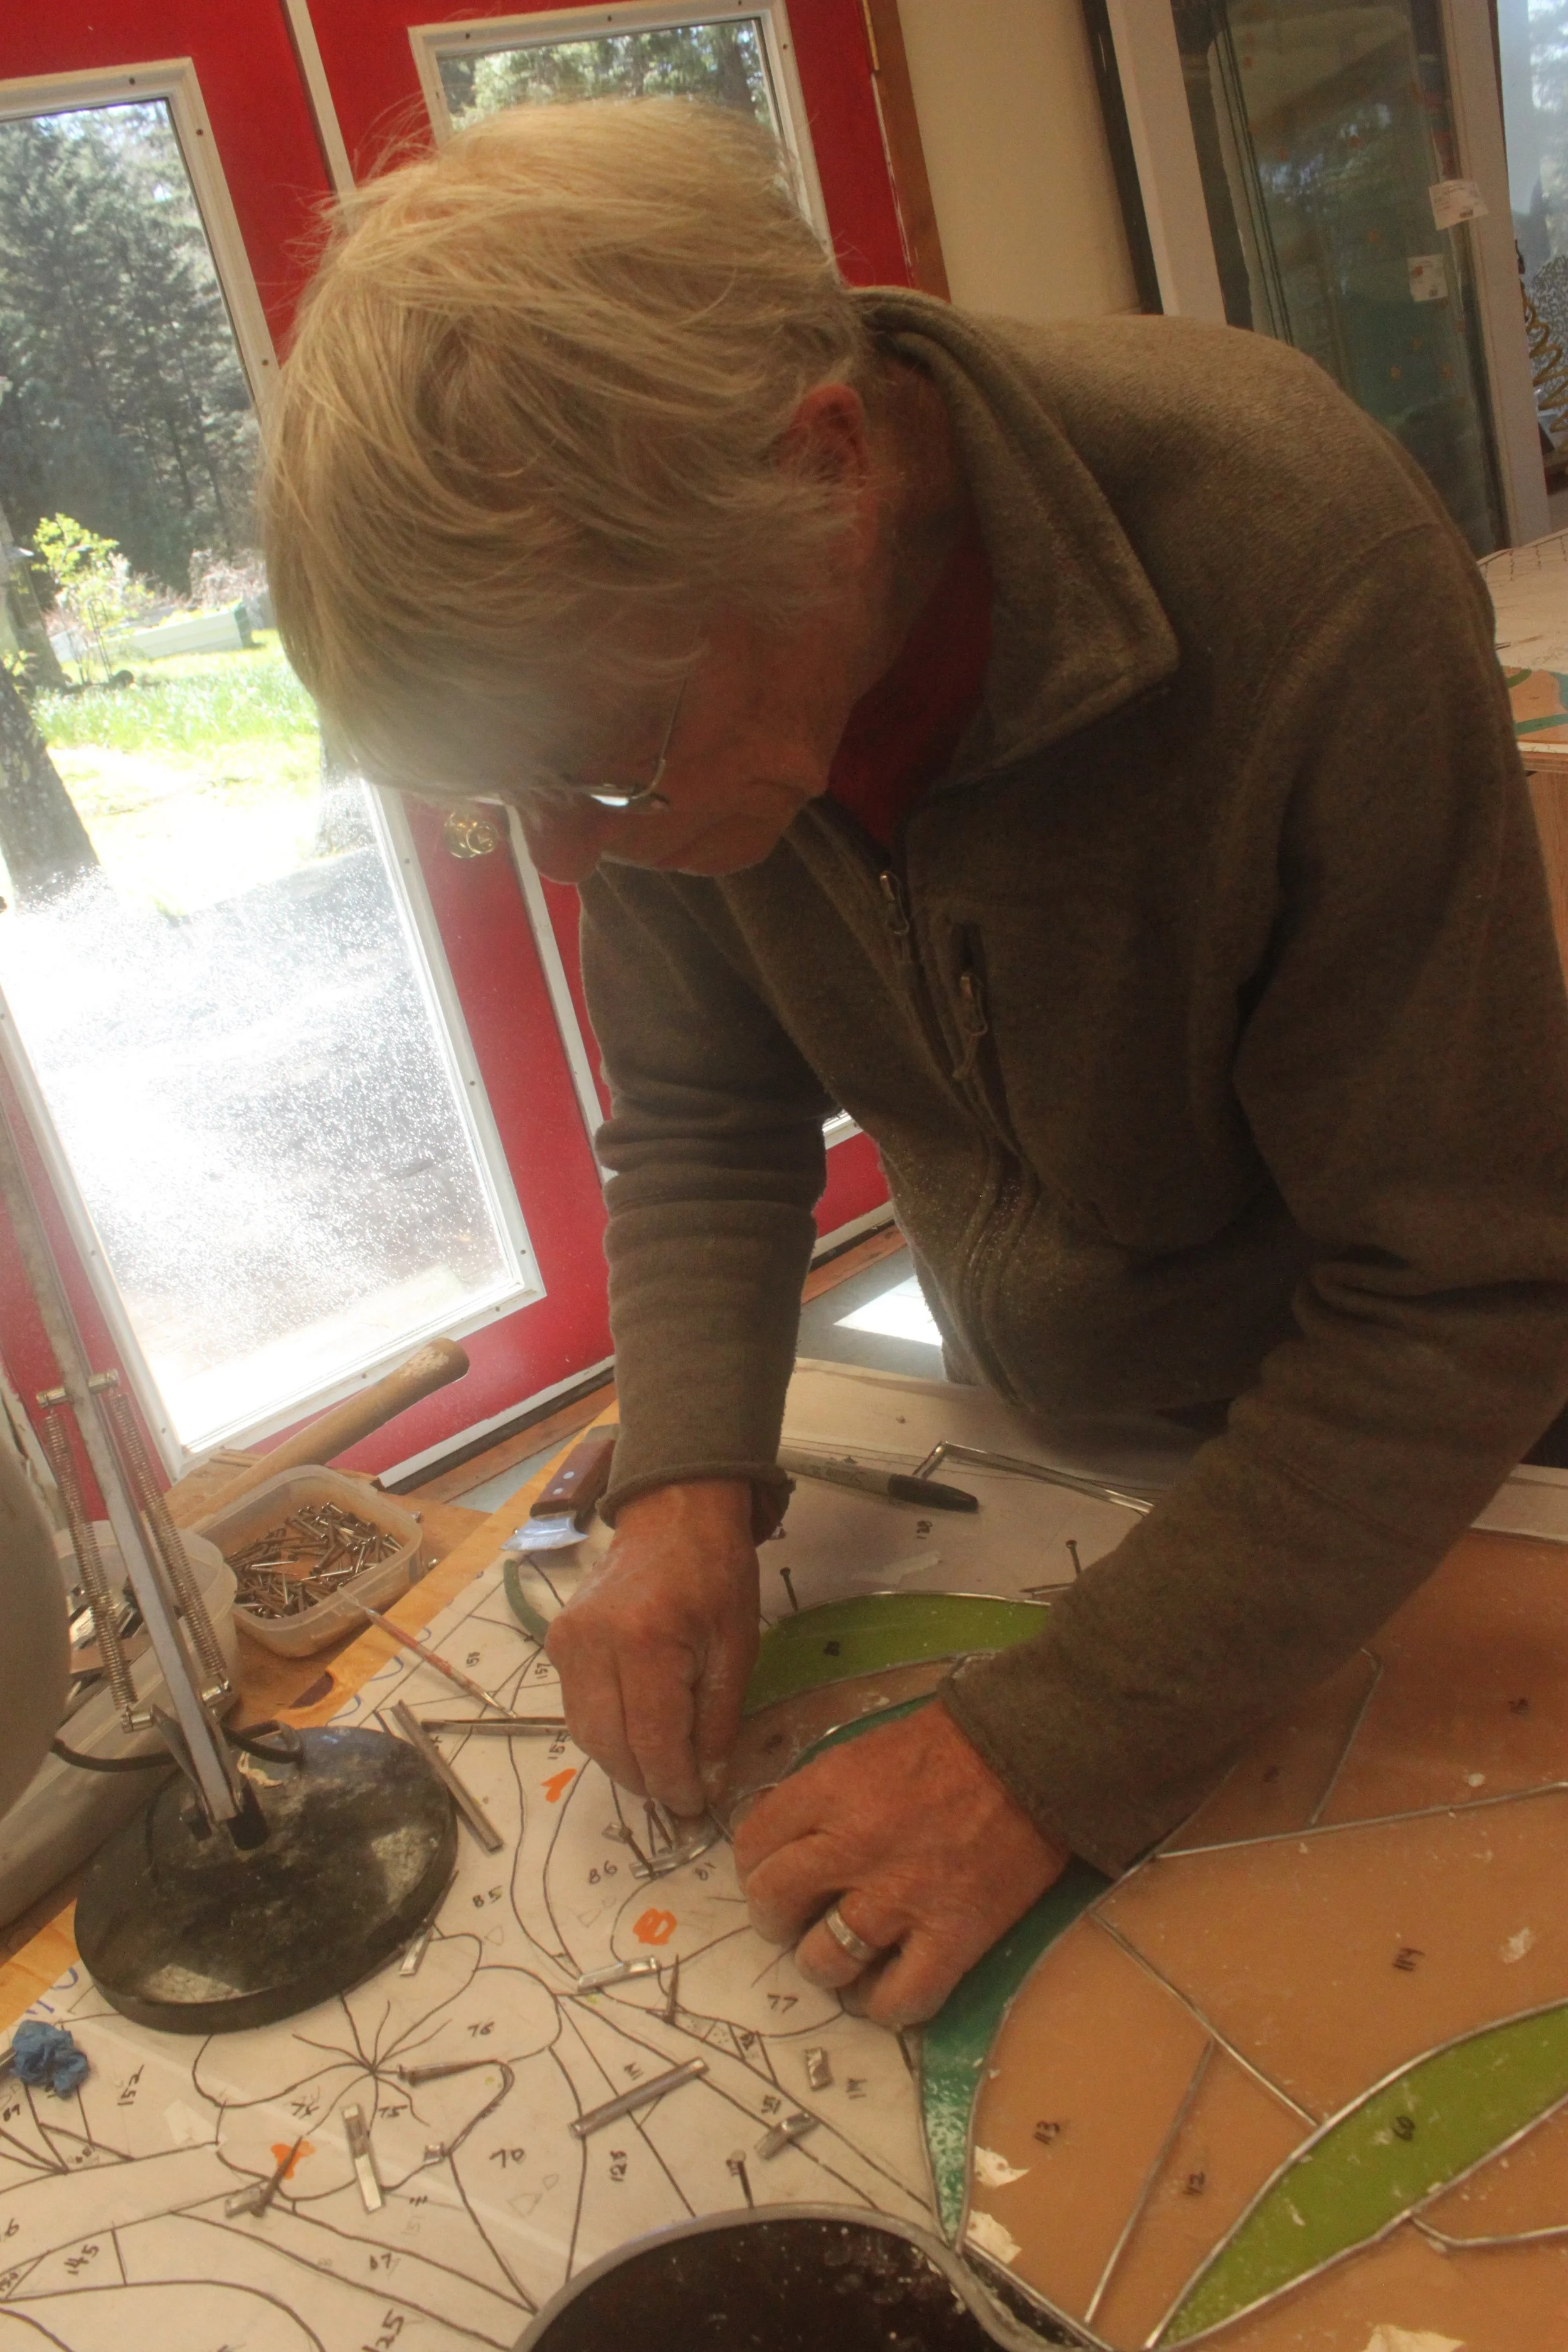
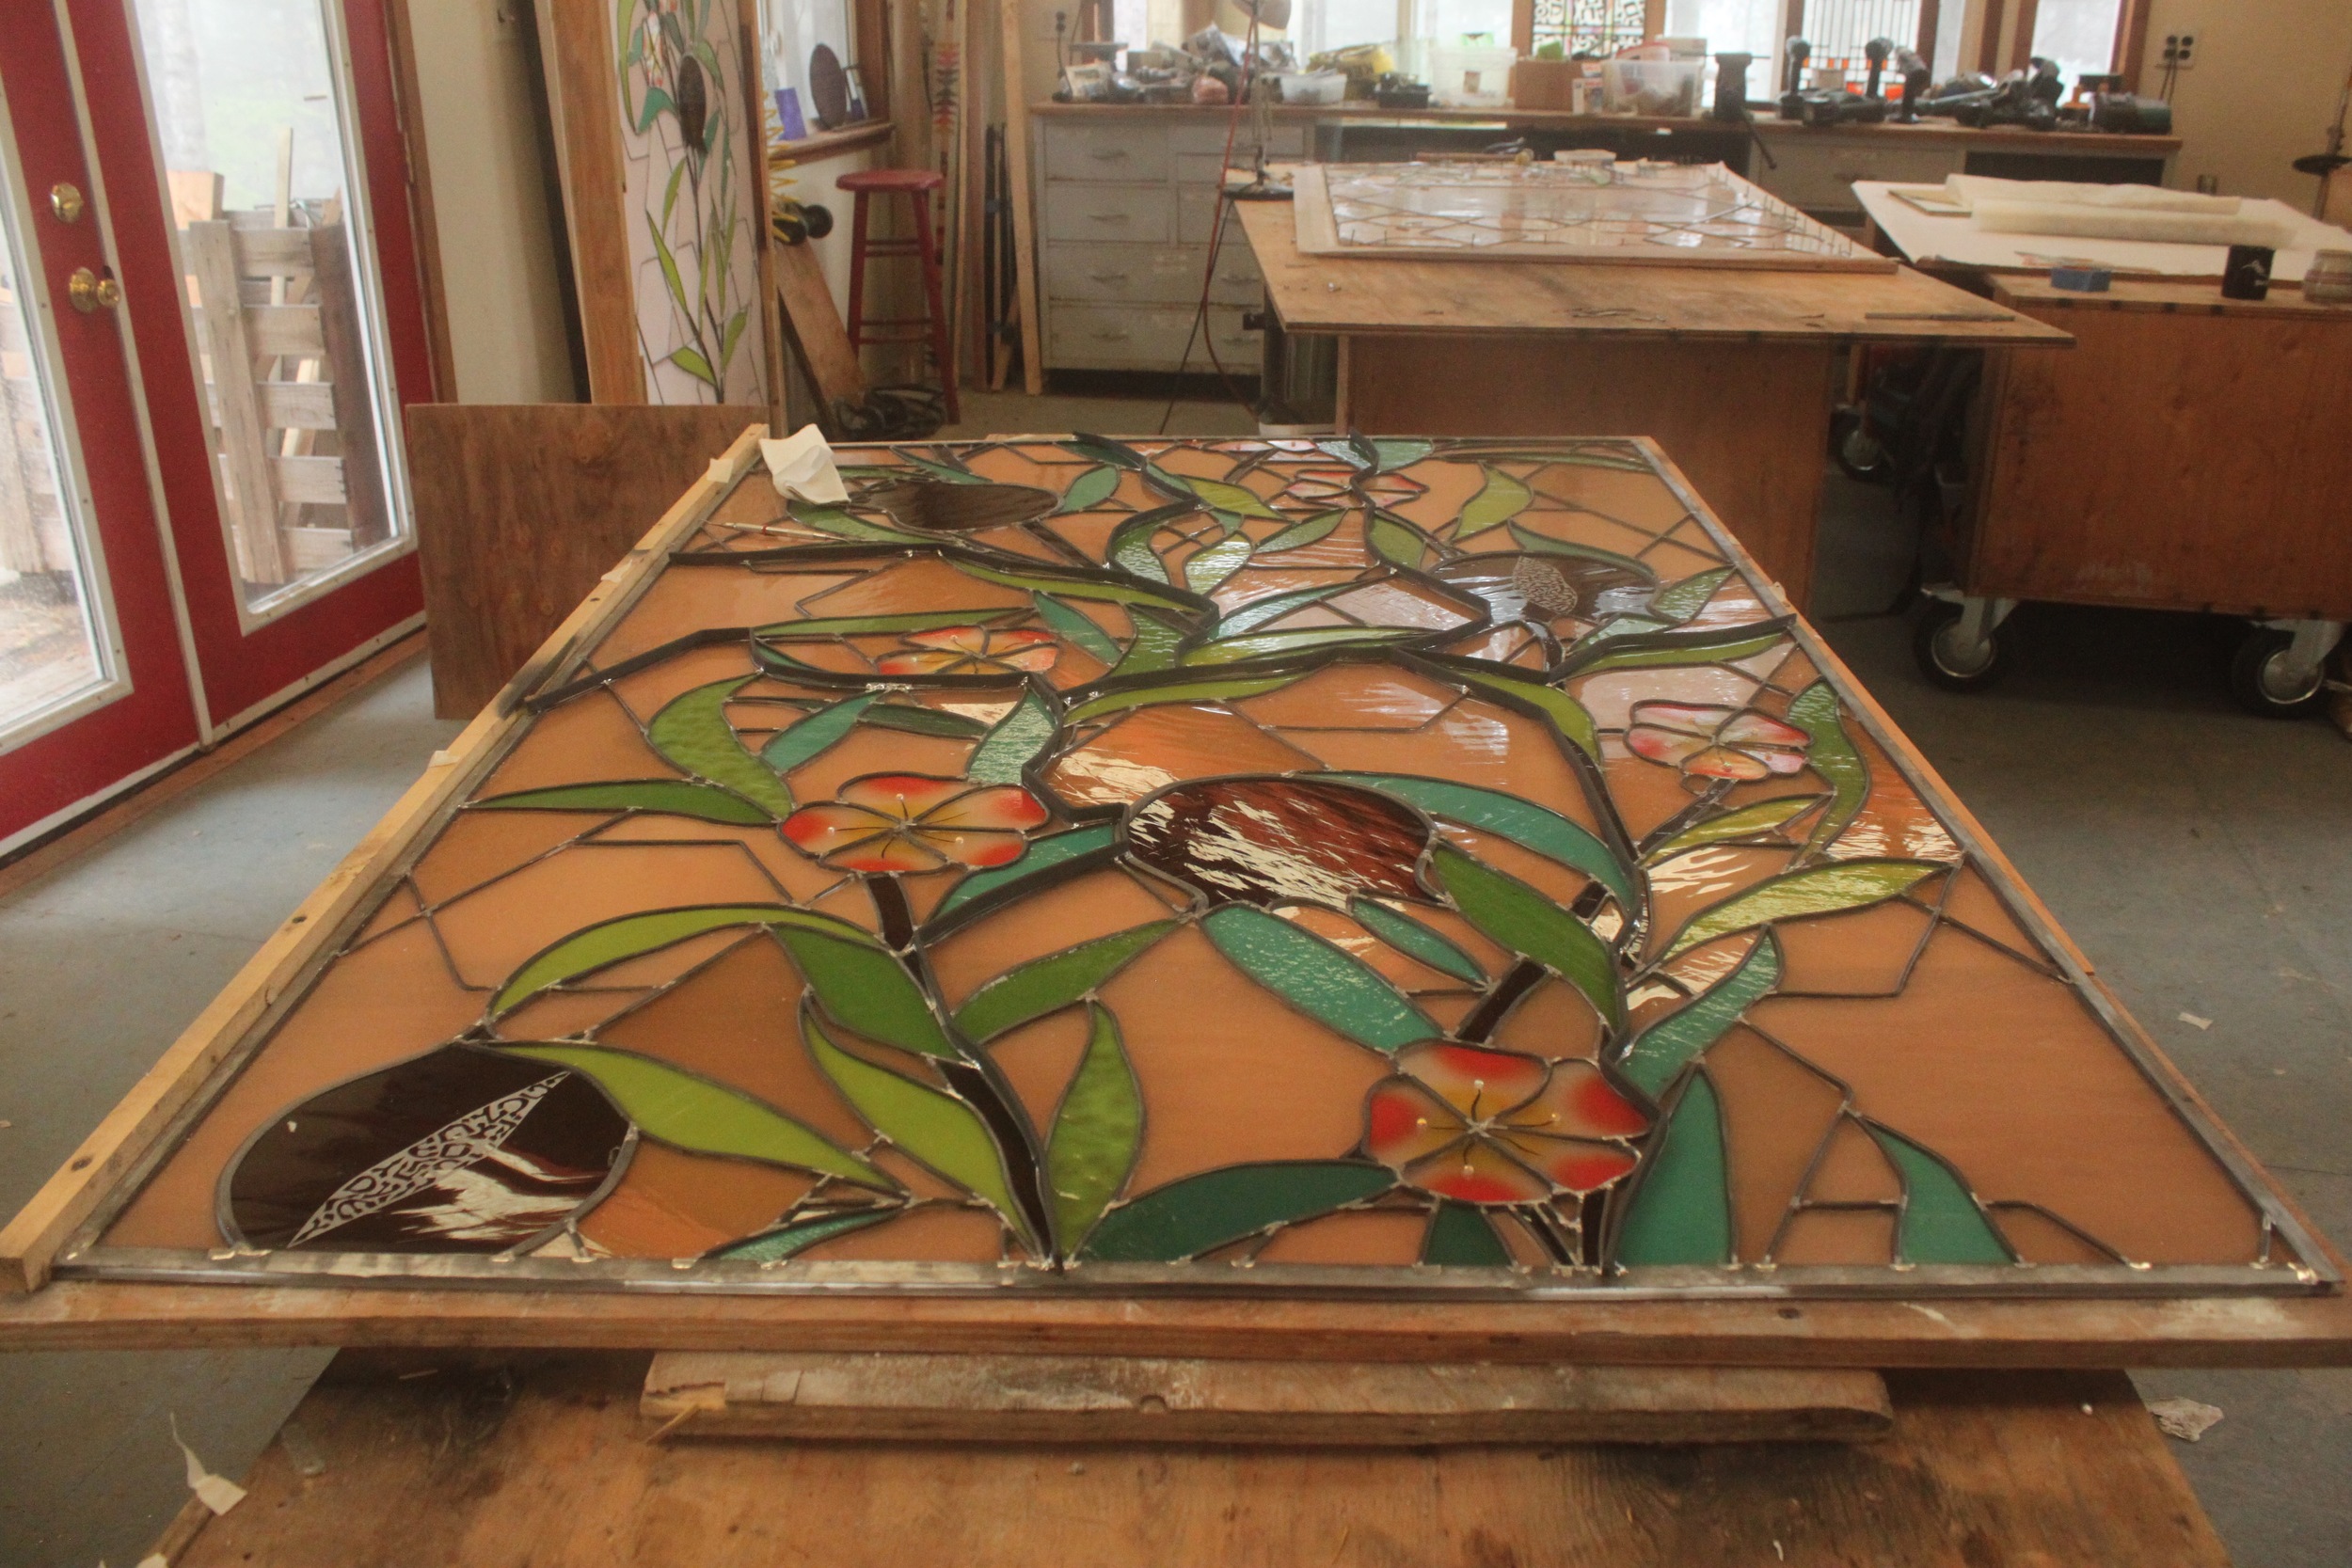
Assembly begins

4
Etching the pomegranates

6
Cutting and assembly continues

4
Cutting proceeds

4
Painting the text

6
Work continues

9
Steel reinforcement of the windows

5
Progress

6
Cutting completed

5
Assembly continues

5
Cleaning and crating

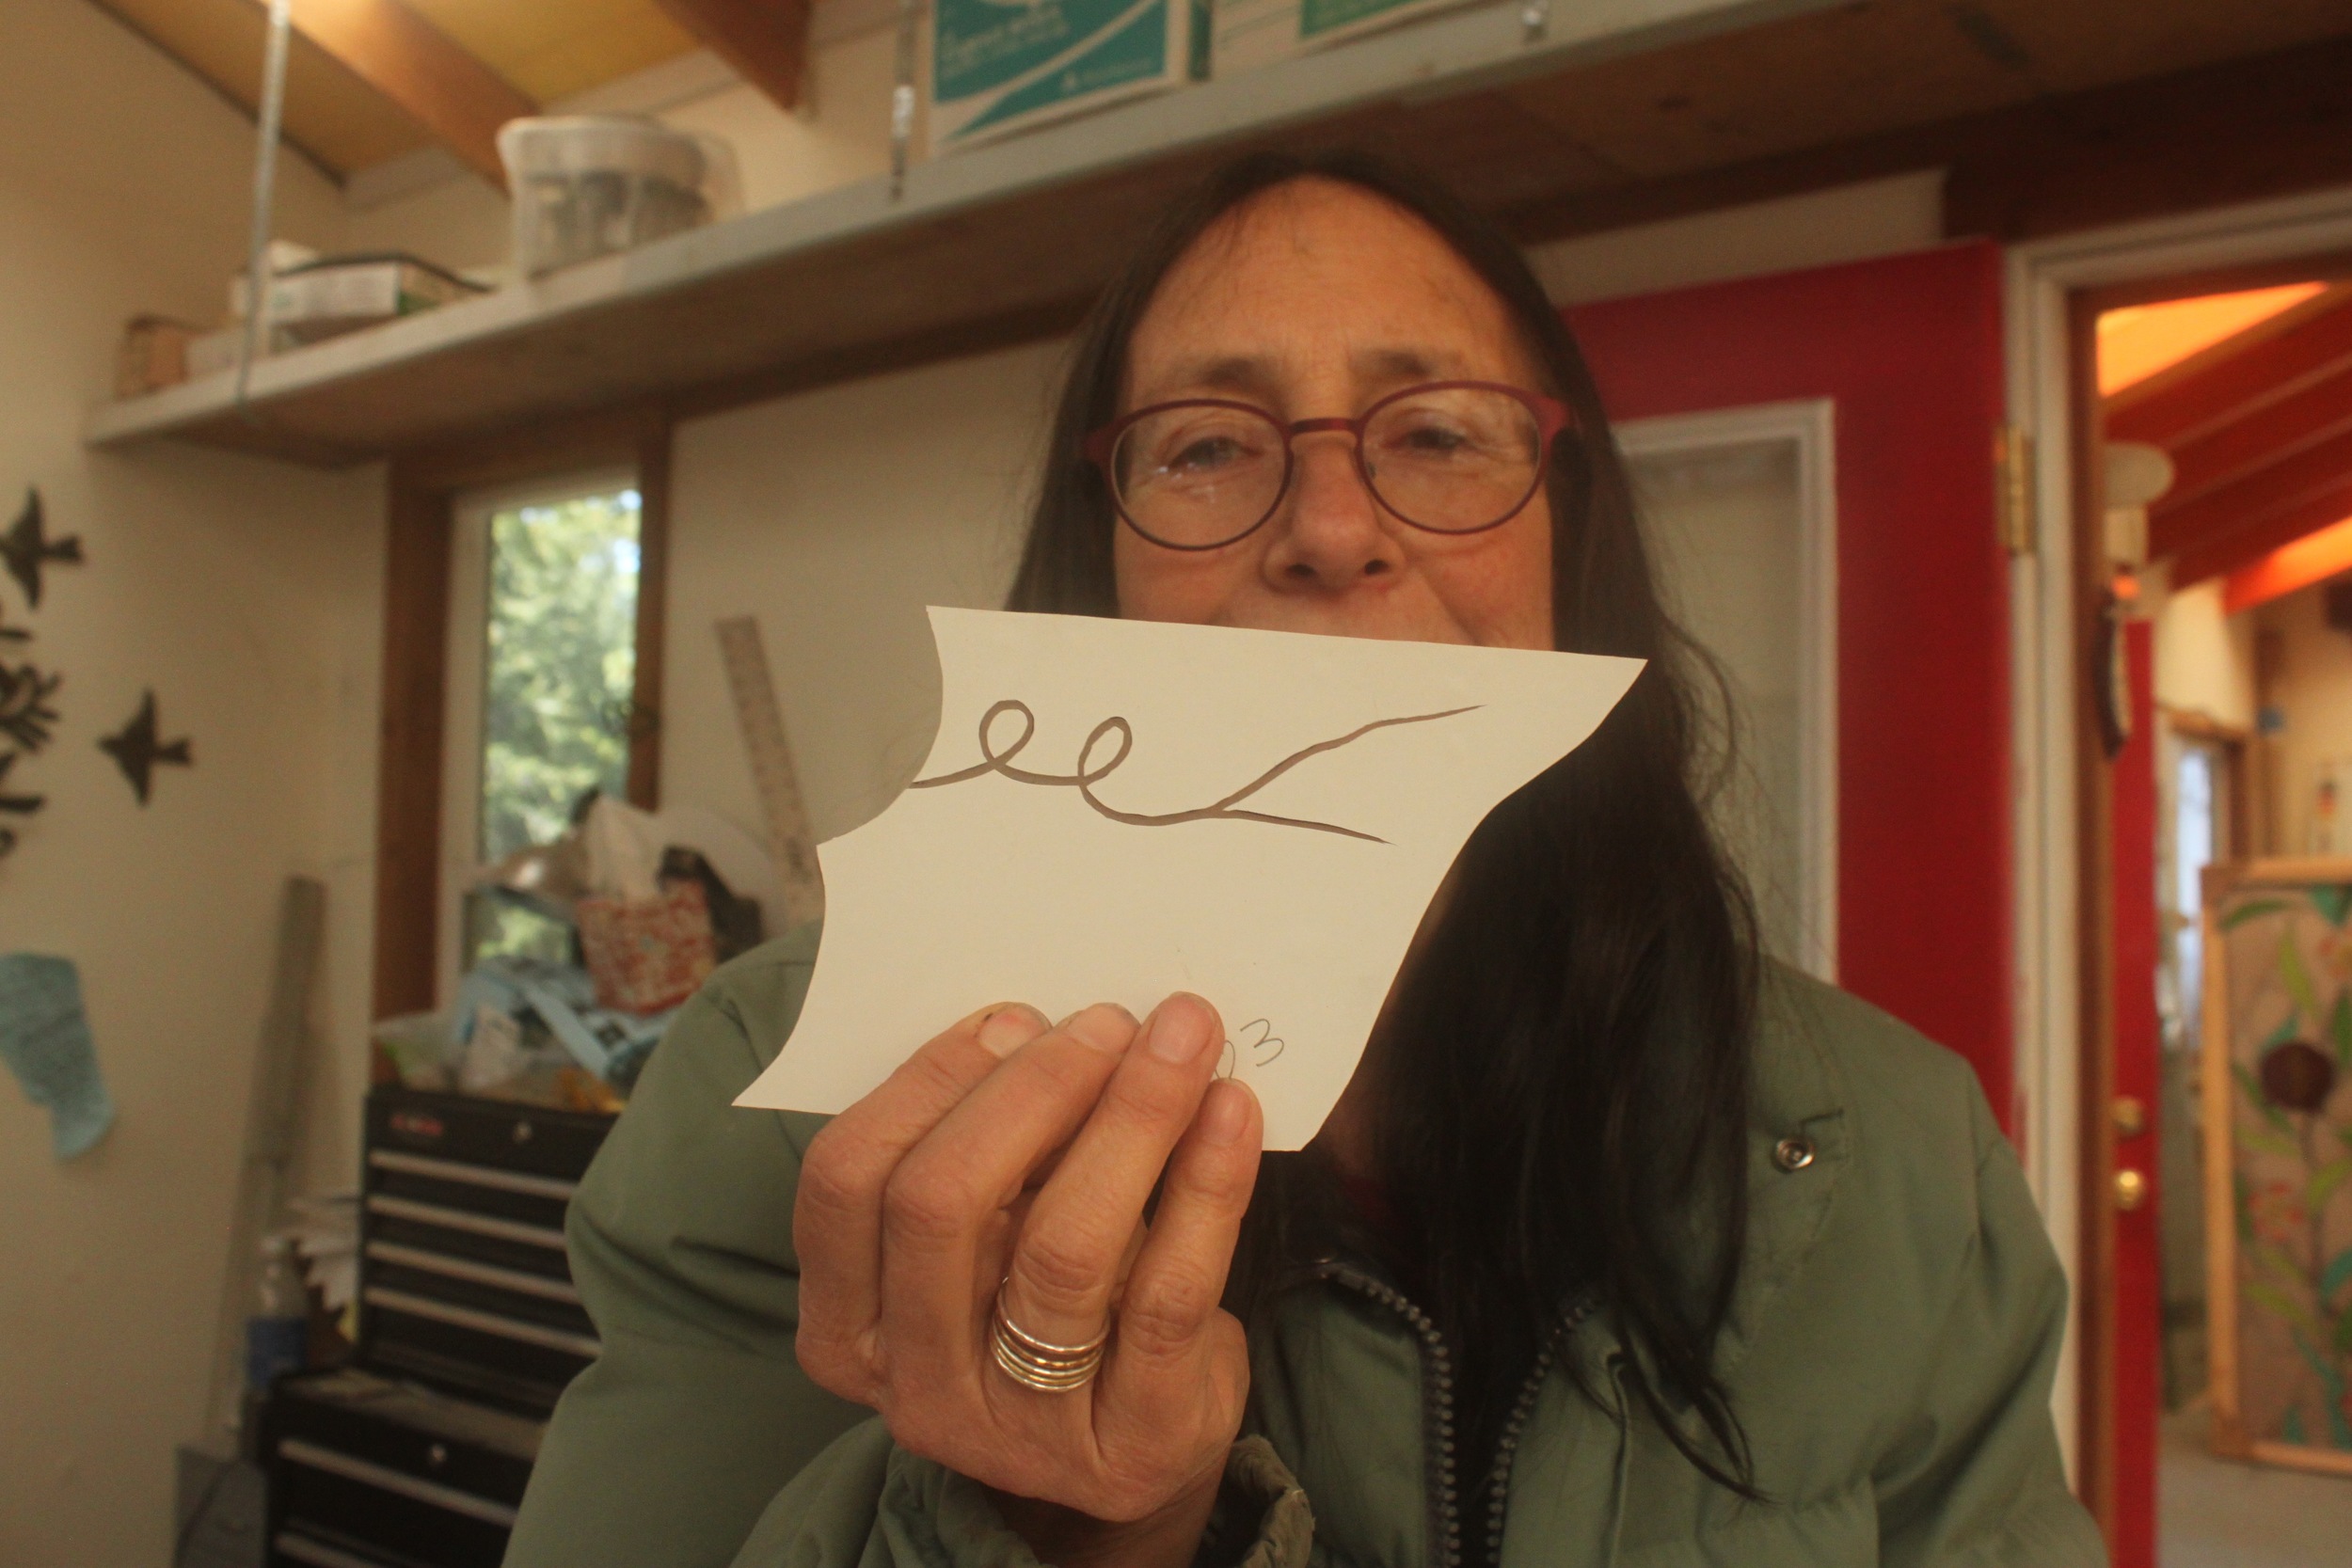
4
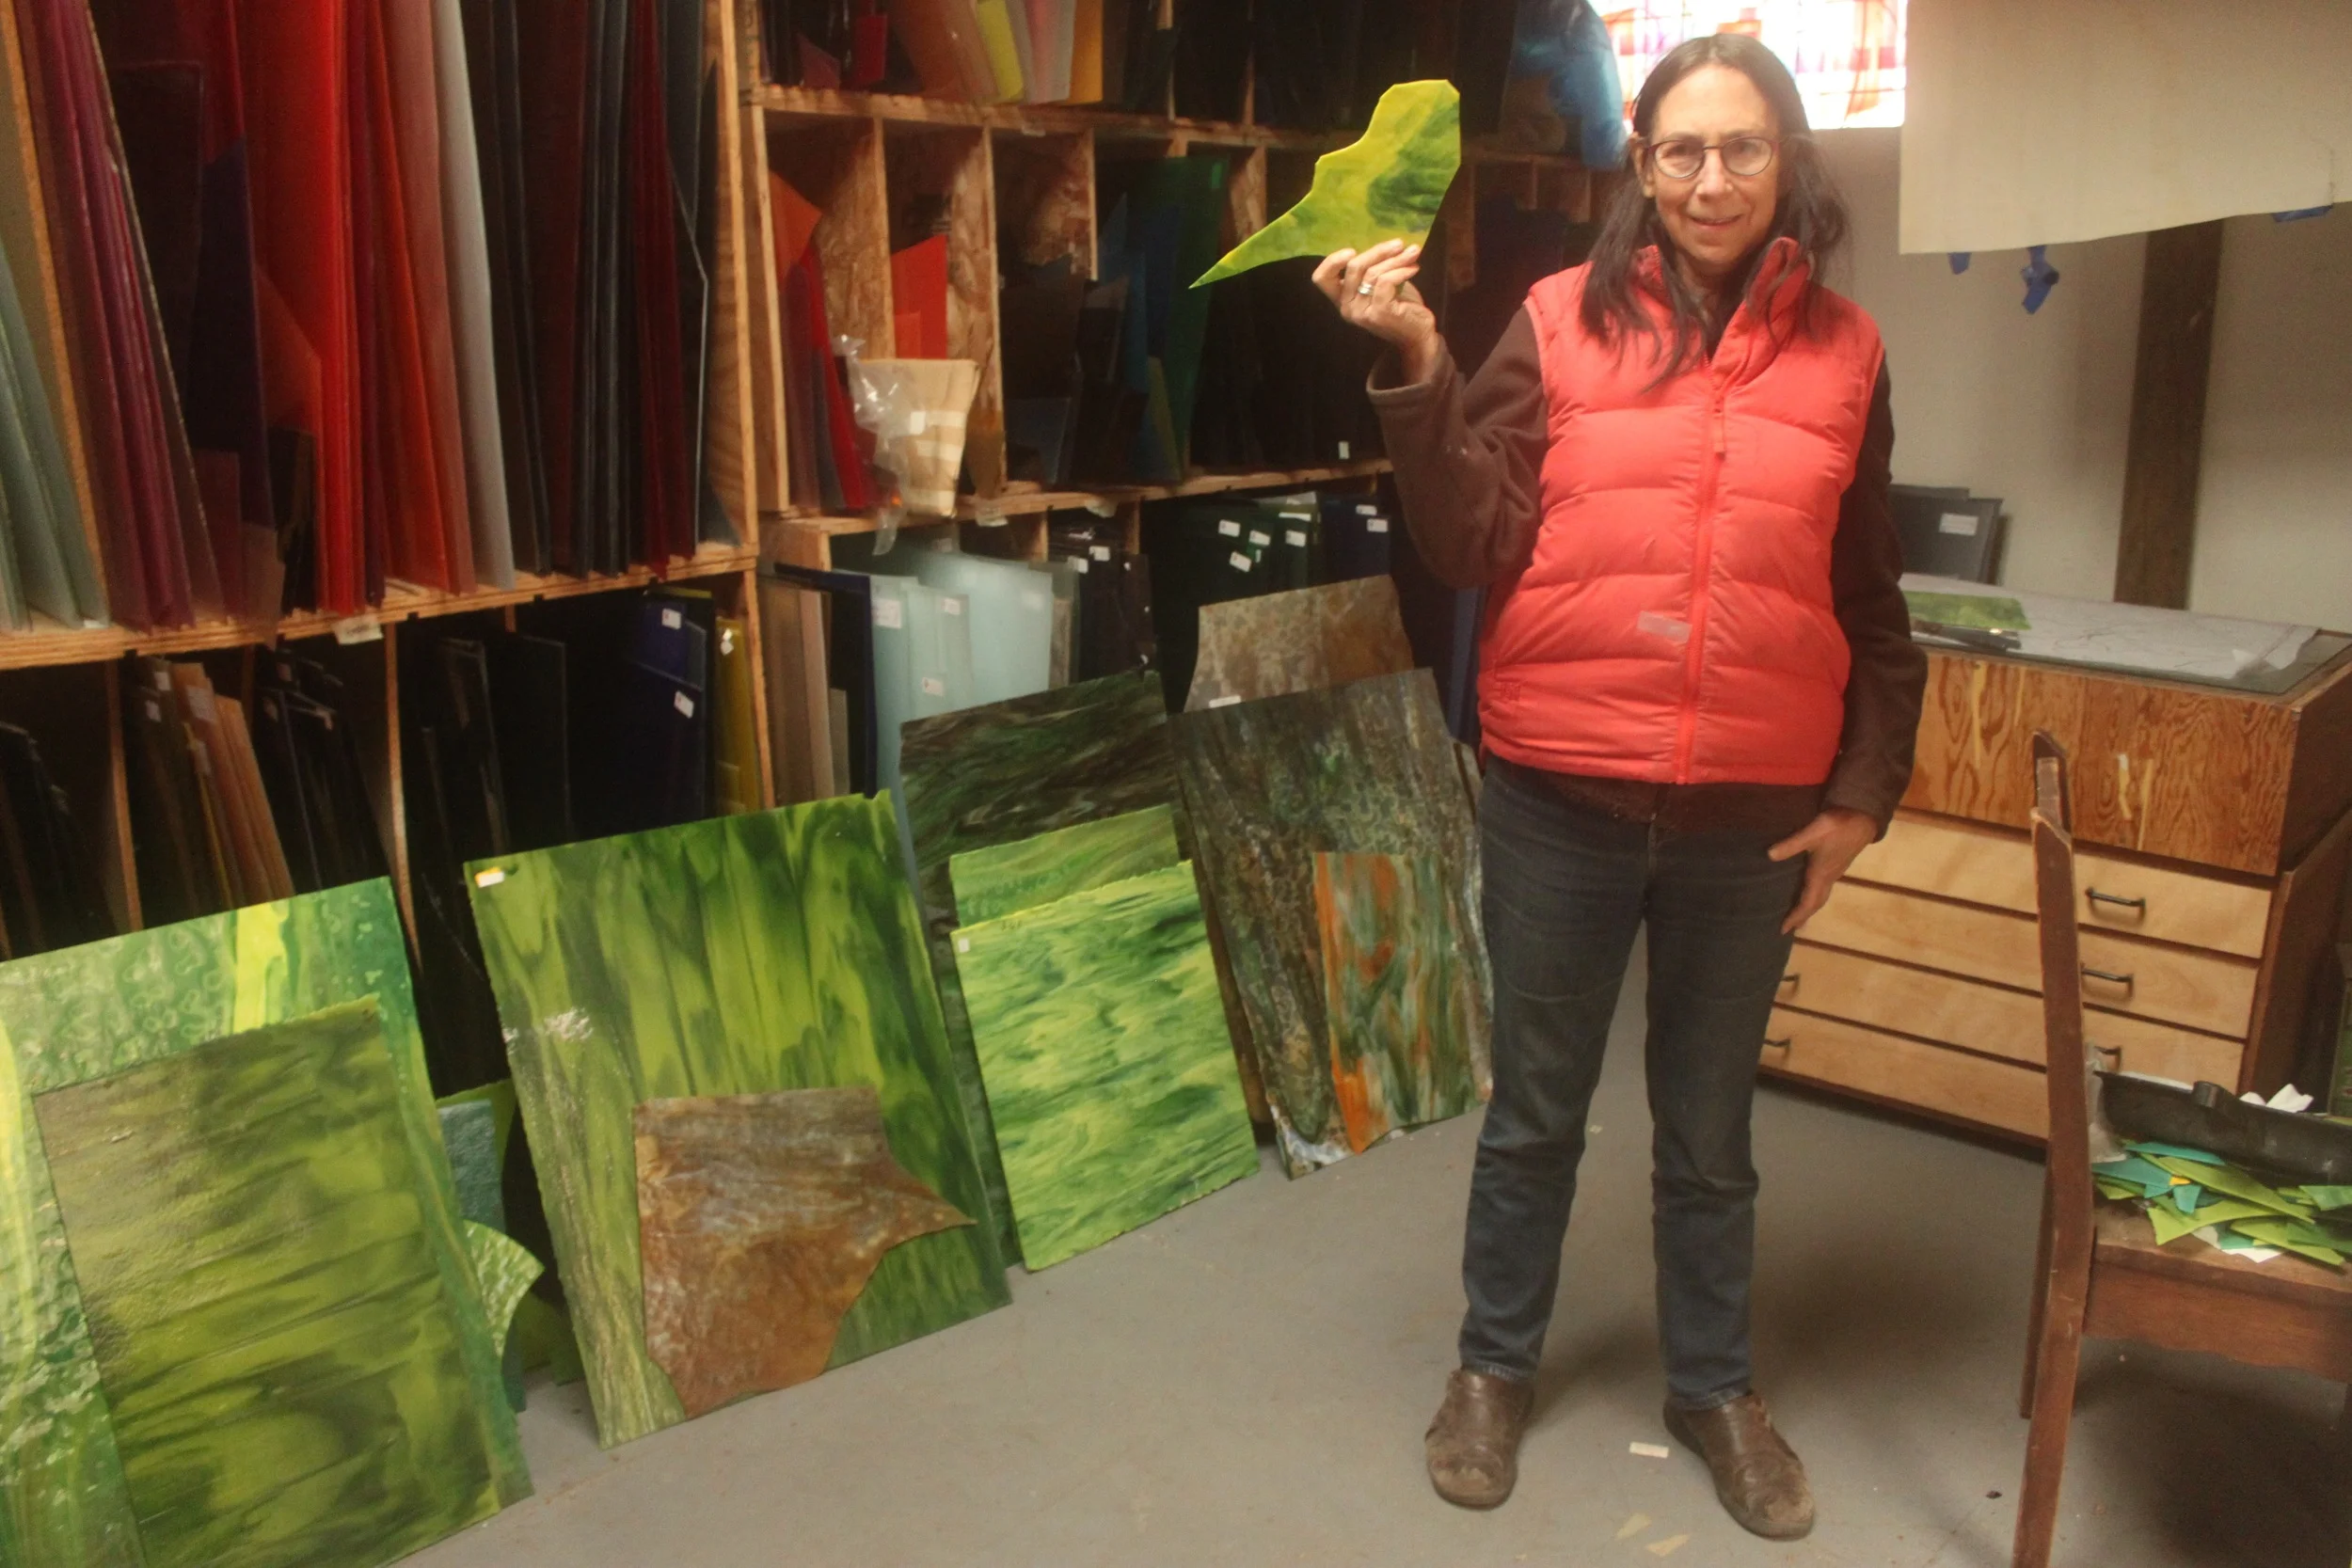
Preparing the tendril pieces

2
Delivery begins

2
Delivery Day 2

2
Delivery Day 3

3
Delivery Day 4

2
Delivery Day 6

3
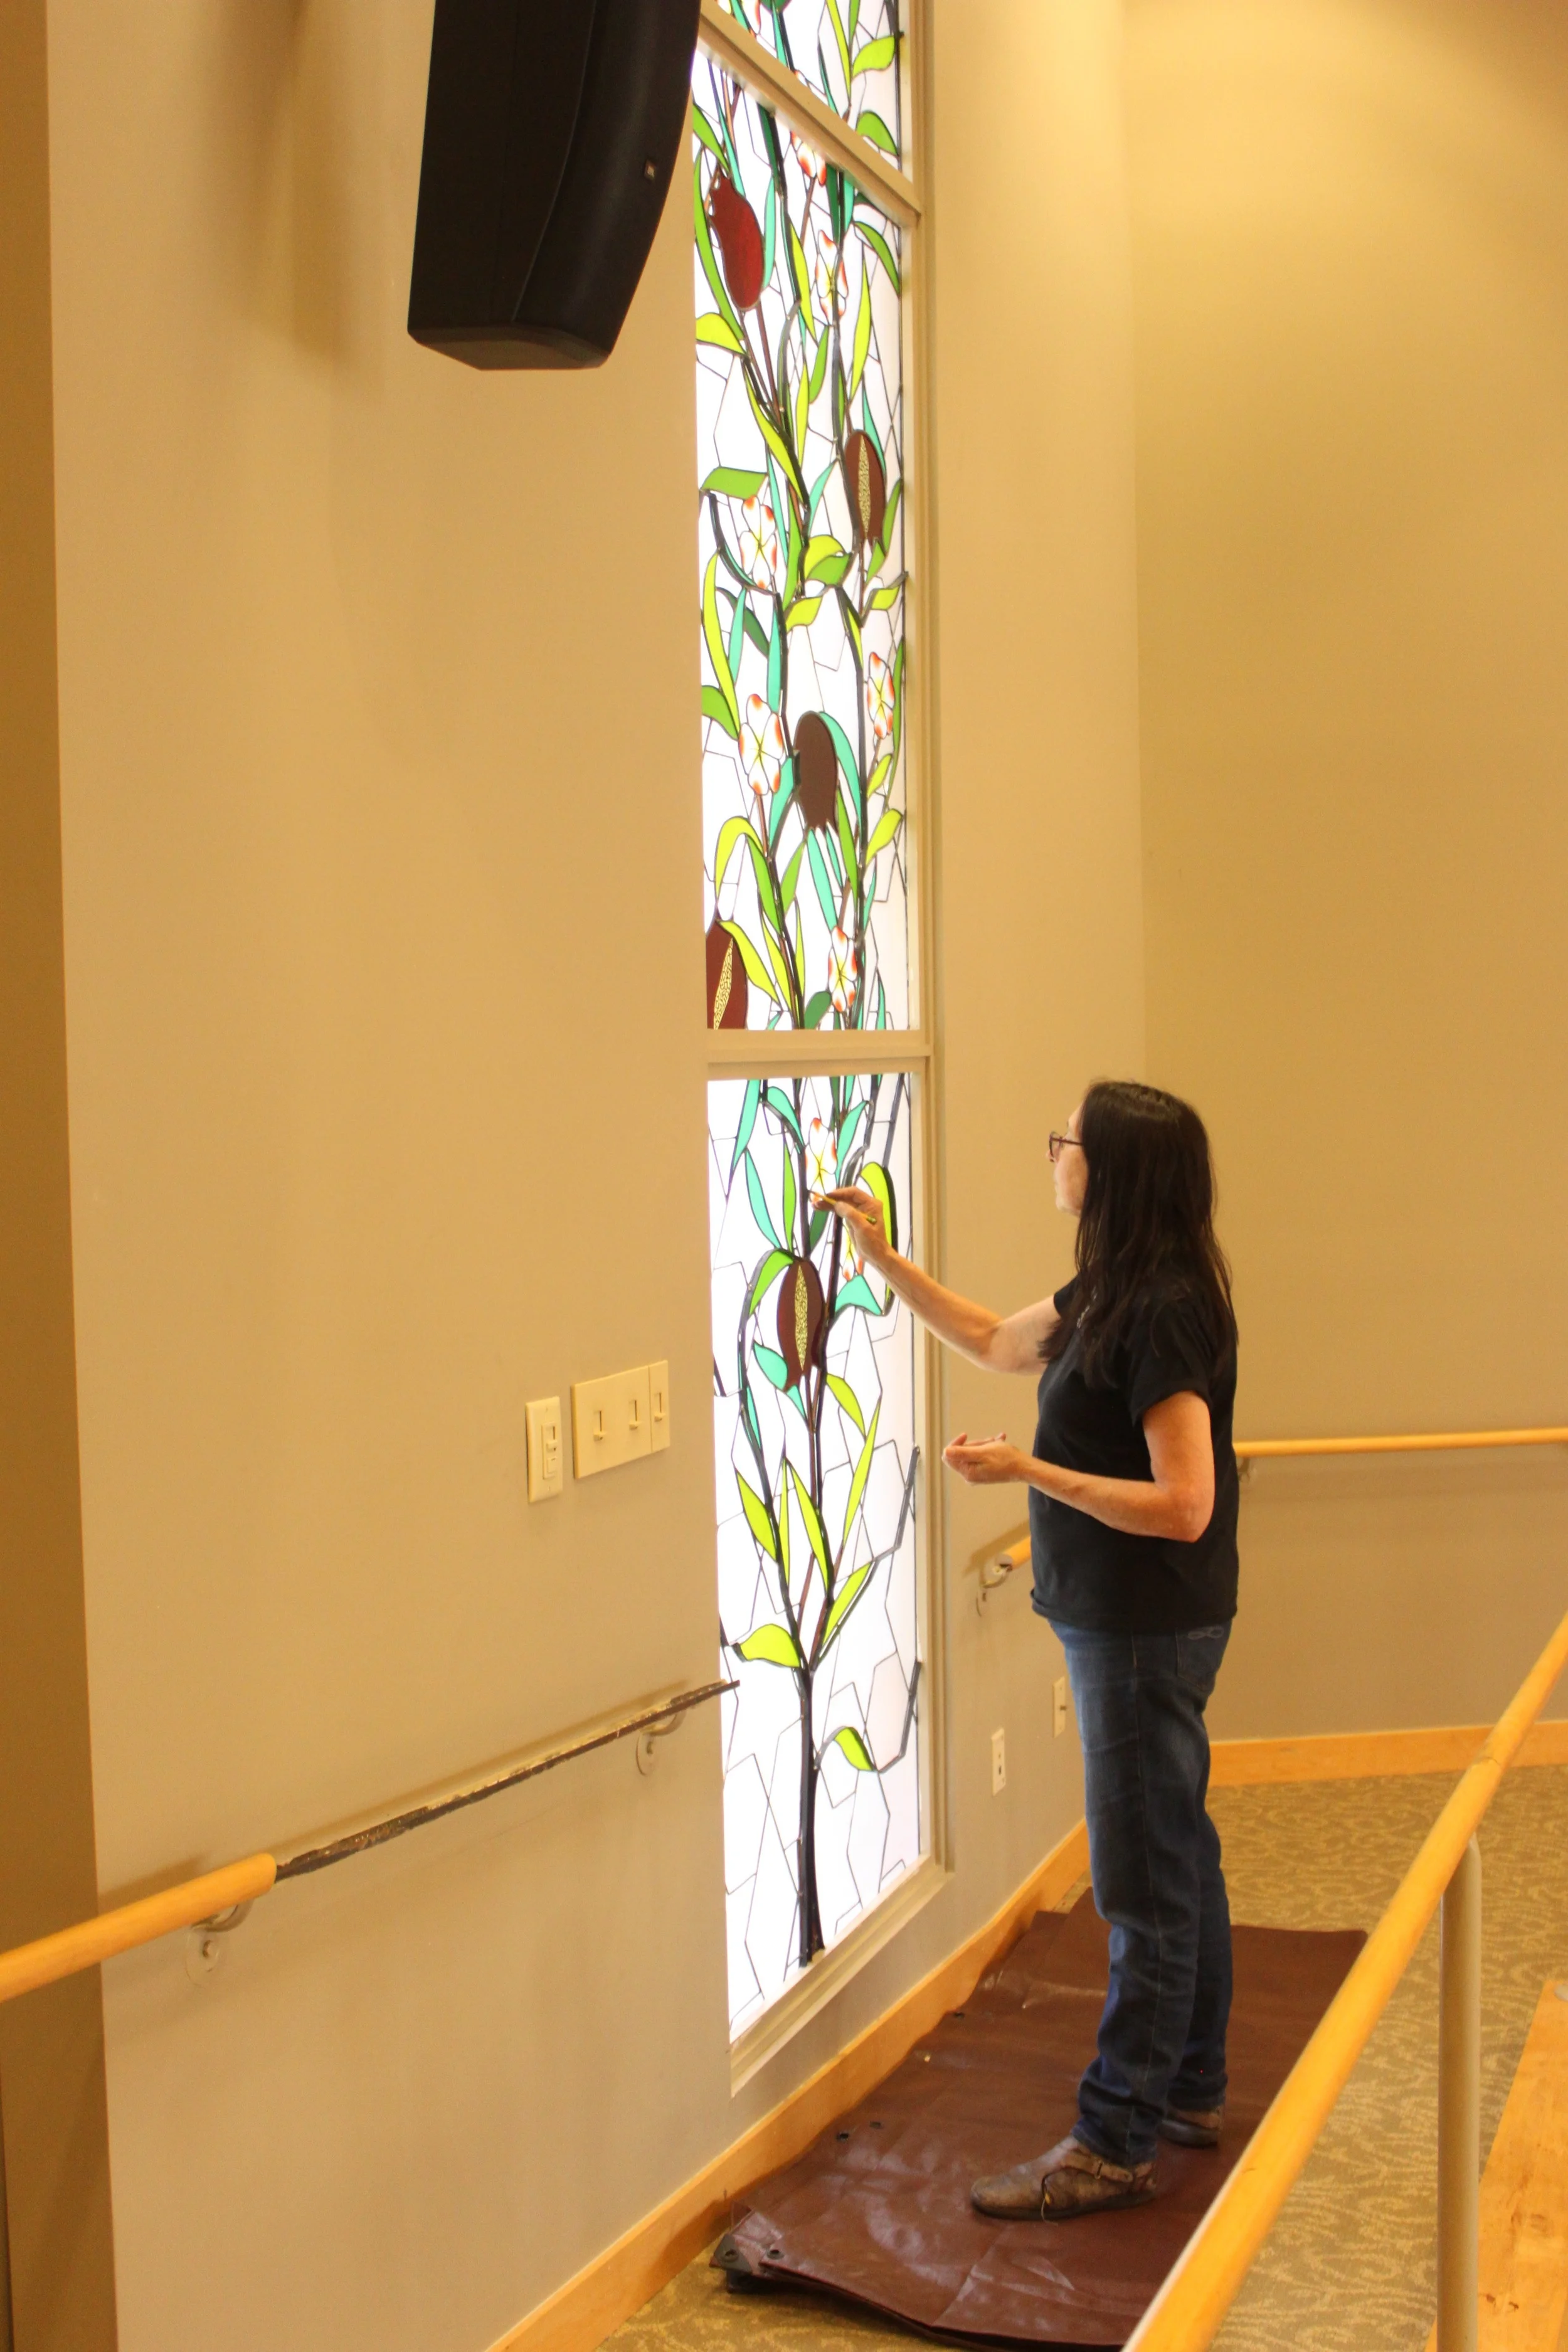
Installation Begins

10
Installation Day 1

13
Installation Day 2